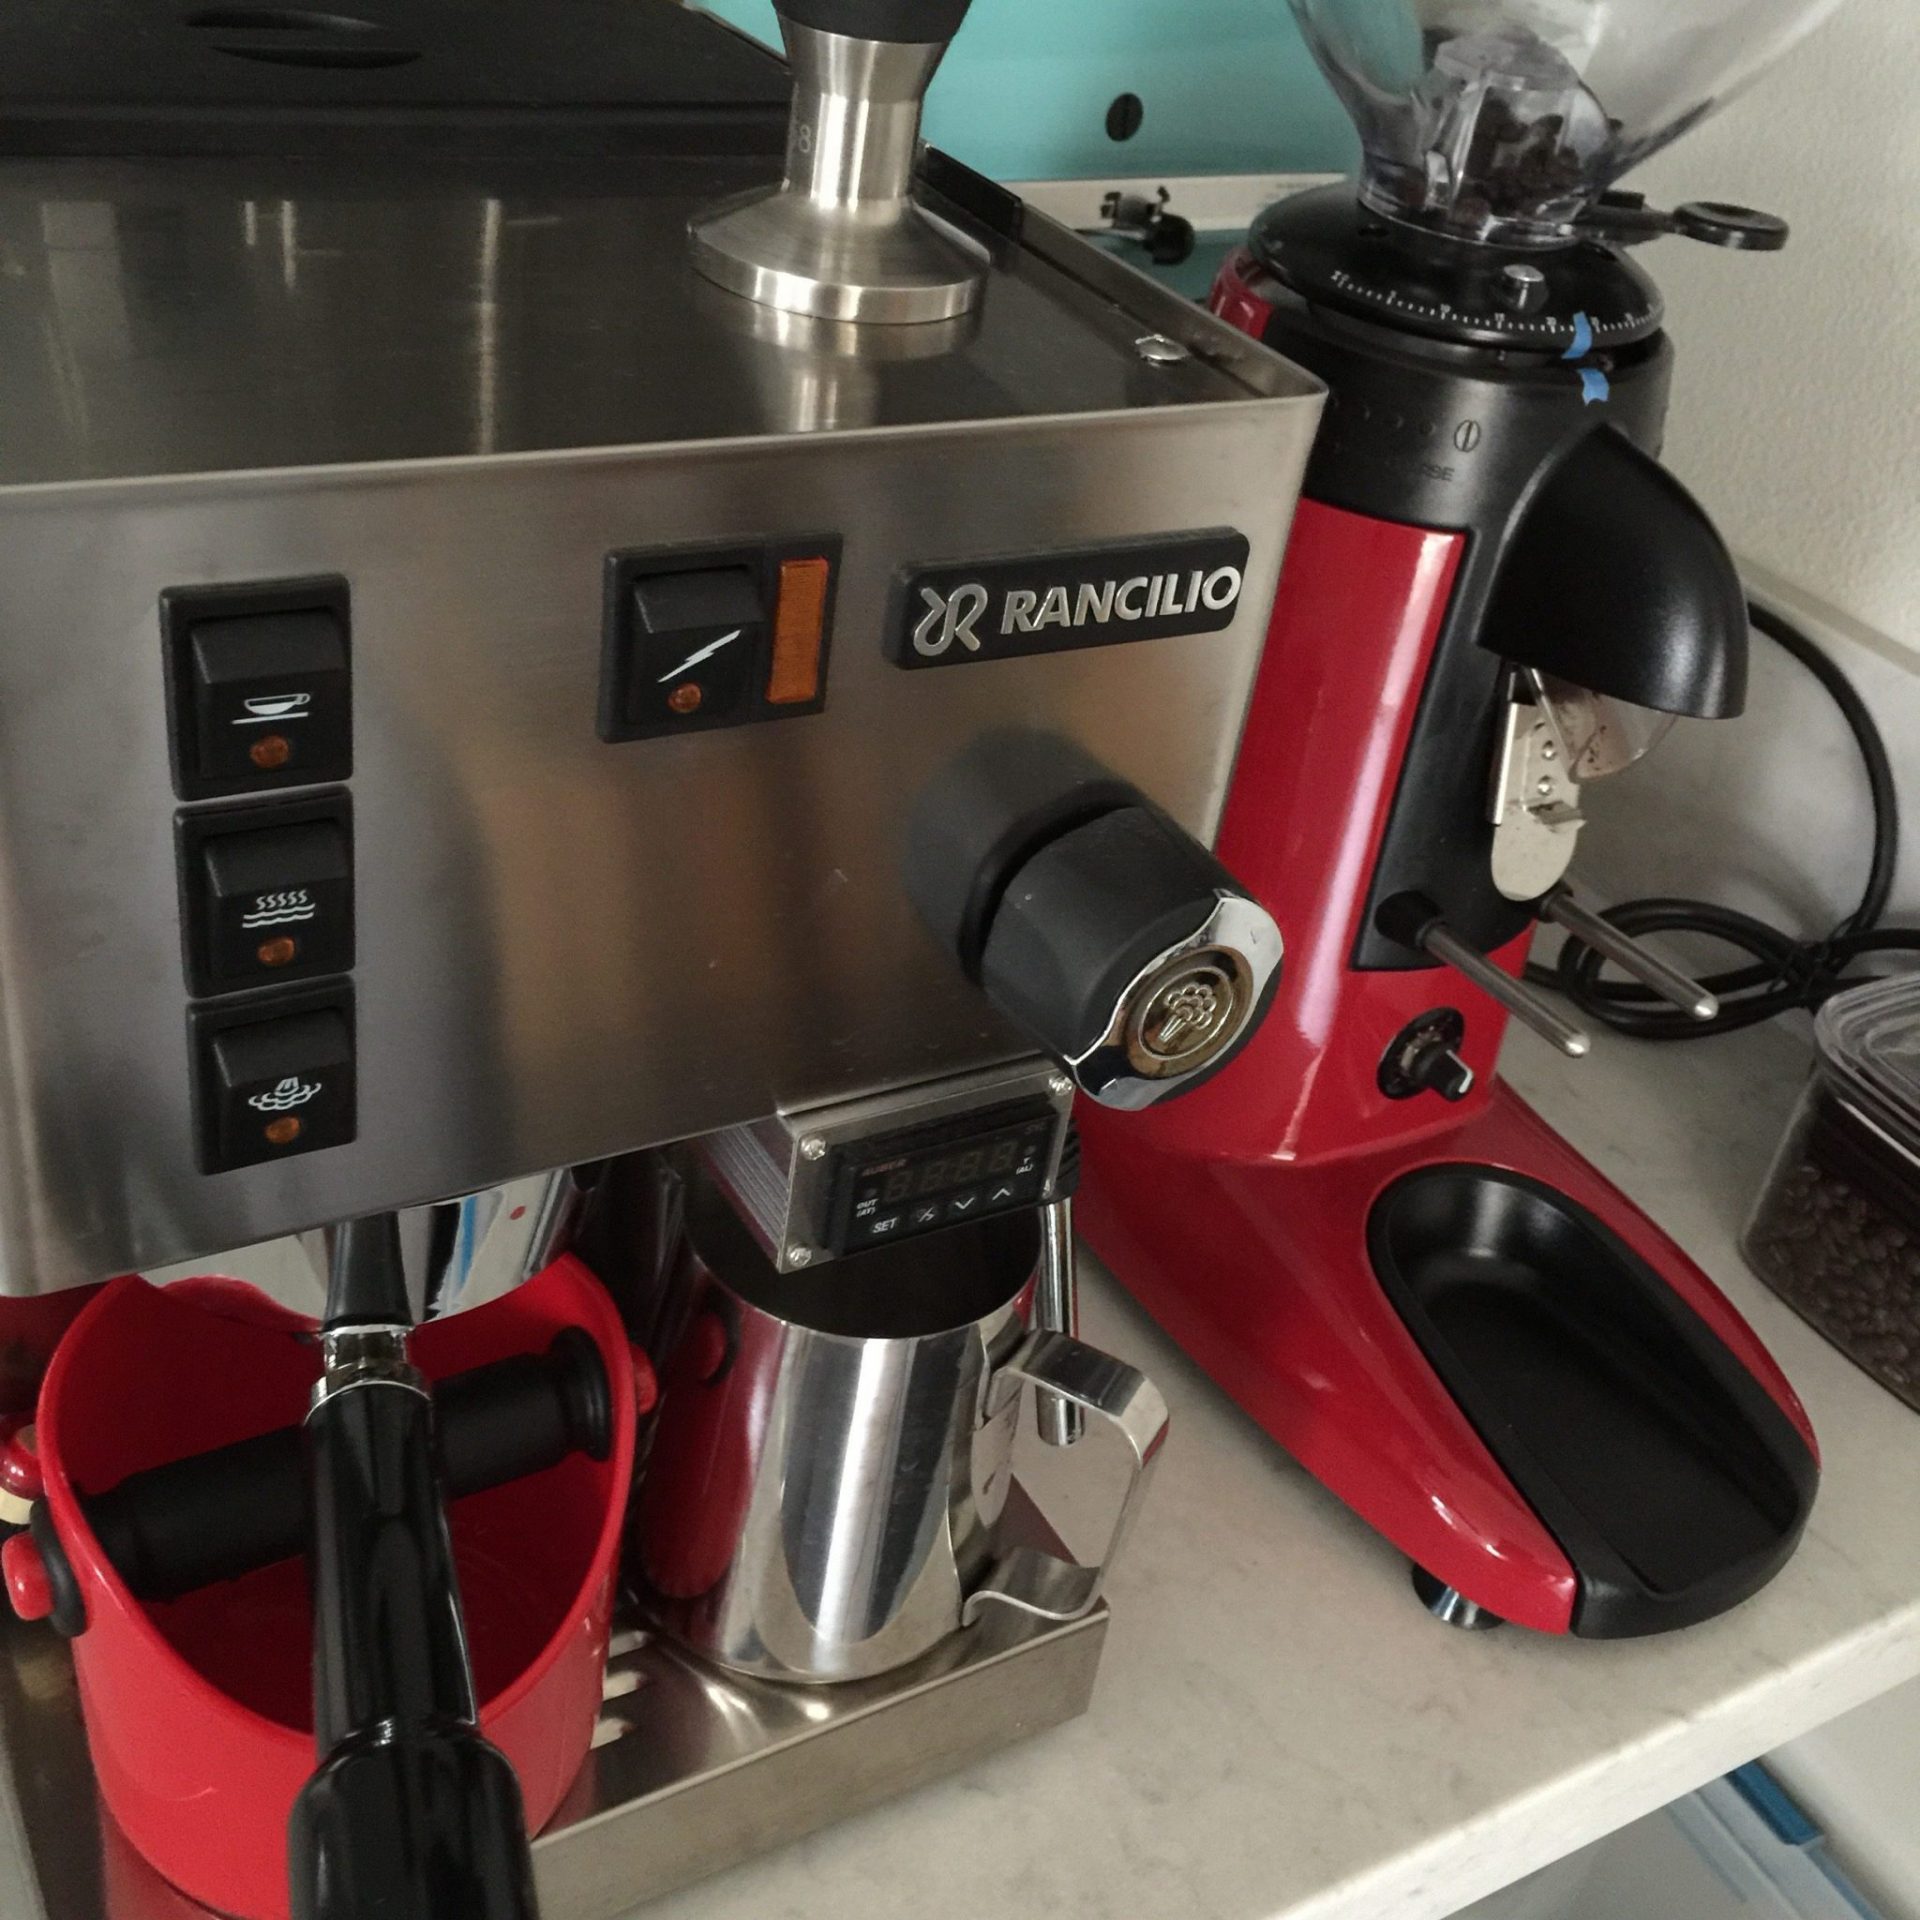
Rancilio Silvia v4 with PID Review
This is my espresso setup. I’ve had the Rancilio Silvia v4 with PID for about 6 months. I have used it about 1-3x per week on average and love it. The espresso it produces is top notch, especially with my home roasted beans. I definitely feel fortunate to have come across this machine.
I first read about the Rancilio Silvia thing at Sweet Maria’s (where I to buy all my coffee supplies, beans, roasters etc). After doing some research online, I realized it wasn’t perfect. At that point, I wasn’t going to drop $1000 on a machine I wasn’t using every day and it seemed like getting the PID installed was a good compromise.
Even with the PID installed, there was definitely a bit of a learning curve for me. I had never used an espresso machine like this before. I did have a Krups that I got as a gift. However, the quality of that espresso is nowhere near what the Silvia produces. Also, I used to have a Breville Espresso machine. I liked how it was a complete package with grinder, the machine, steamer and tamper. But, I couldn’t get it to produce good espresso. (Part of this may have to do with the grinder which I will get into later.)
Like the Breville, I could not get the Gaggia Classic to make good shots either. And I didn’t like the look of the machine. It just felt a little cheap to me (plastic pieces). Another feature I didn’t like was that the boiler was made of aluminum. Aluminum is widely considered to be inferior to brass boilers due to temperature stability and corrosion. Lastly, there was no PID to indicate temperature.
The Rancilio Silvia v4 with PID has been great.
I like the way it’s built and the stainless steel makes it look pretty nice on my counter. My machine came with the PID installed from Seattle Coffee Gear. I got it because I didn’t want to mess around with not knowing the temperature of the water/steam. That way I would at least have eliminated a factor if I was pulling bad shots. I think if you have used espresso machines in the past, you could get away without using one. There are a number of articles available regarding ‘temperature surfing’ to pull good shots.
I primarily use the PID for watching the temperature and brewing time. I should note, it came preprogrammed with preinfusion, but I deactivated it to keep it simple. Based on my research, the preinfusion was controversial in whether or not it made a positive difference on your shot. I also increased the brew time to 30 seconds in case I wanted a longer extraction than 25 seconds. For example, when I change beans, sometimes the new bean chokes the machine.


Konnichiwa! (Hello!) I'm Pat Tokuyama, a Japanese tofu cookbook author, who travels for music, food, and adventure. If you like Japanese tea, checkout some of the newestorganic japanese tea, matcha bowls and noren and more!
** Curious about the Plant Based Japanese Cooking Club? ** Learn more here!
Espresso Accessories
You will need to get some accessories and a good espresso grinder which I go into on another post. I did also buy a 58mm rattleware tamper. The included tamper is useless and you really shouldn’t use it.
Another important accessory is a bottomless portafilter. If you haven’t heard what a bottomless portafilter is before, it is basically a portafilter without a spout. It will show you if your technique is bad by allowing you to view the espresso coming out of the bottom.
This can help you identify channeling and uneven tamping for example. It is a great way to learn better technique. I would highly recommend getting one if you are new to espresso. The bottomless portafilter makes a mess by spraying espresso when you have bad technique. You should learn relatively quickly after using it a few times as cleaning up espresso spray gets old real quick!!
Lastly, I also bought flathead screws to replace the one that sticks out of the shower head. But, I haven’t gotten around to replacing it yet. This is because the bottomless portafilter I got has a deeper basket than the stock basket. So I never have issues with the puck hitting the screw. Some people complain about that with the stock basket. I generally use 16-18 grams per double shot and the puck never has a screw mark after I pull a shot. This is a good thing!
So in summary, I am happy with the Rancilio Silvia with PID. I am primarily drinking straight espresso, cappuccinos, and macchiatos. Maybe in 5-10 years I will reconsider spending $1000 on a heat exchange machine. For now I don’t drink enough espresso to justify the price difference. Let me know what your thoughts are or if you have questions on the machine!
I have also added some videos of me actually using the machine with some pointers/tips.
Read more about my Compak K3 Touch Espresso Grinder here!!
The Rancilio Silvia is also available on Amazon
If you liked this post, please share or leave a comment. Thanks for reading!


Great review and post. I have been contemplating getting this machine for about a year – Clive Coffee here in Portland highly recommends it and like you – I am not ready to spend over $1000 for an espresso machine. At least not yet. I really appreciated your review and thoughts. Thanks!
thank you! it makes great espresso 😀