When you start on making koji, you’re delving into a centuries-old tradition that serves as the backbone of many Japanese ferments, like miso and sake. You’ll begin with choosing the right type of grain, be it rice, barley, or soybeans, depending on what final product you’re aiming for. The key is in the preparation — washing, soaking, and steaming your grains to just the right texture before introducing the koji spores. Here’s where precision matters: maintaining the perfect environment for your koji to grow. It’s a subtle art, and each step offers a chance to influence the flavor and quality of your final product. What will happen as you try to maintain the delicate balance needed for perfect koji growth?

Understanding Koji
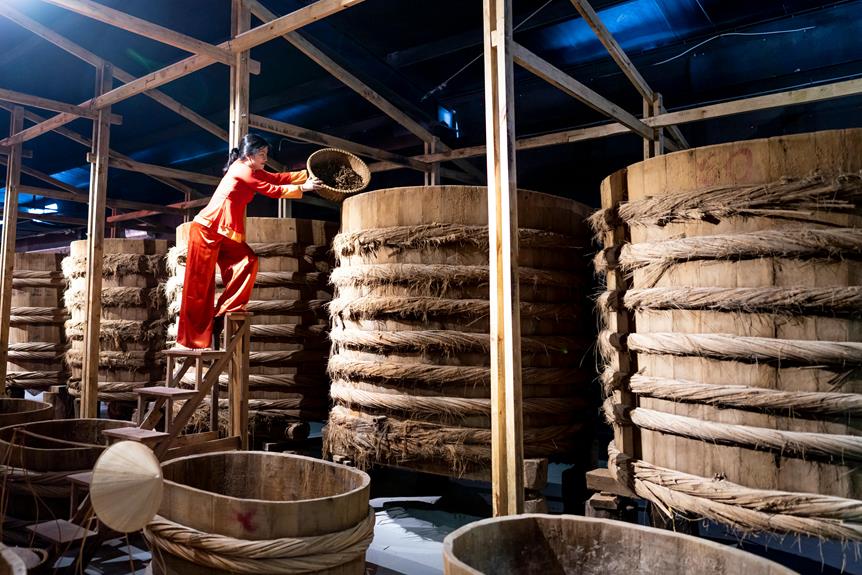
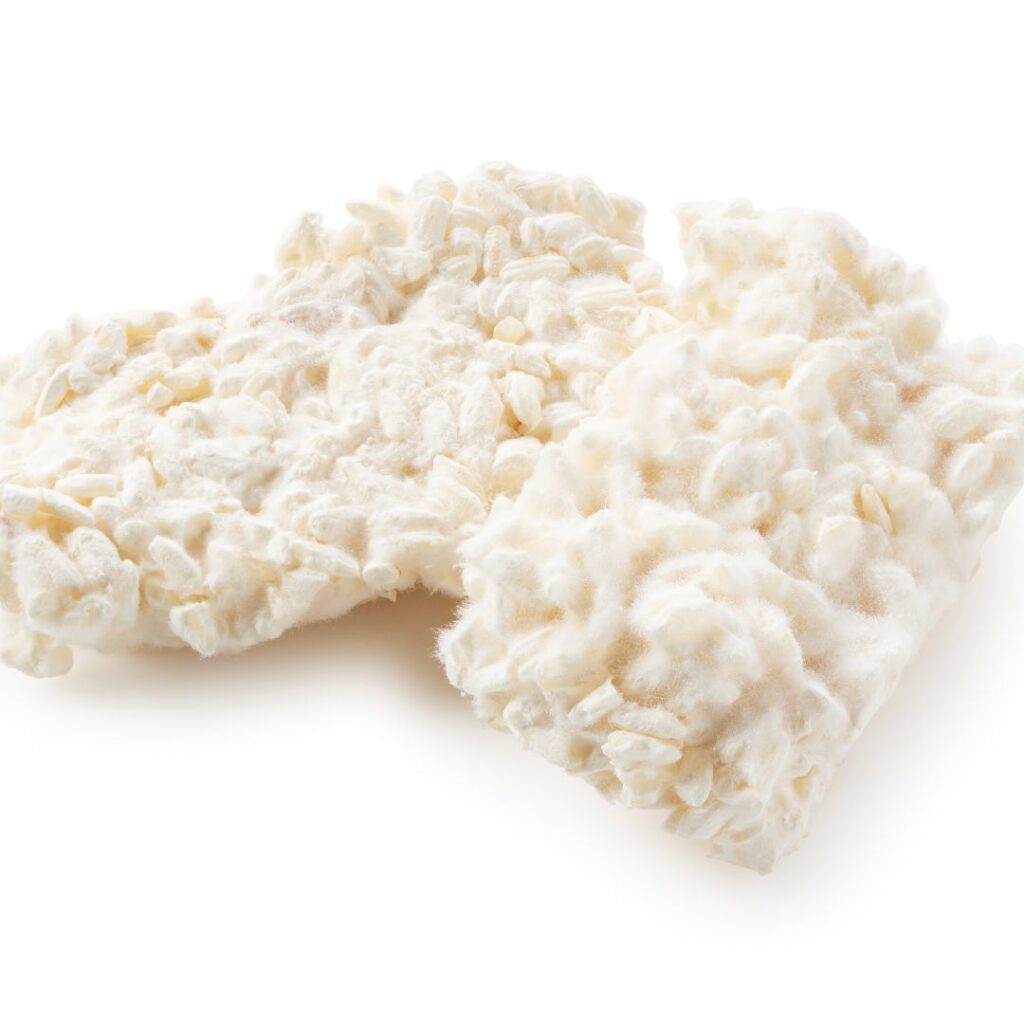
Koji, a mold known as Aspergillus oryzae, plays an essential role in creating umami-rich flavors in traditional Asian ferments like soy sauce and miso. You’ll find that mastering the use of koji not only enhances your culinary creations but also puts you in control of a centuries-old technique that balances taste and nutrition.
Understanding the lifecycle and cultivation of koji is important. This mold grows on cooked grains, converting starches into sugars and proteins into amino acids, which are the building blocks of the savory umami flavor. By controlling temperature and humidity, you can influence the growth rate and enzyme production of koji, tailoring its development to your specific needs.
When you cultivate koji, you’re engaging with a living organism. The process requires precision—monitoring its growth environment meticulously ensures that the koji develops correctly. This control over the variables in the koji-making process not only guarantees a successful fermentation but also empowers you to consistently produce high-quality, flavorful ferments.
Embracing the art of koji preparation isn’t just about following steps; it’s about wielding influence over a microbial process that has shaped culinary traditions for millennia.
How to Make Koji from scratch
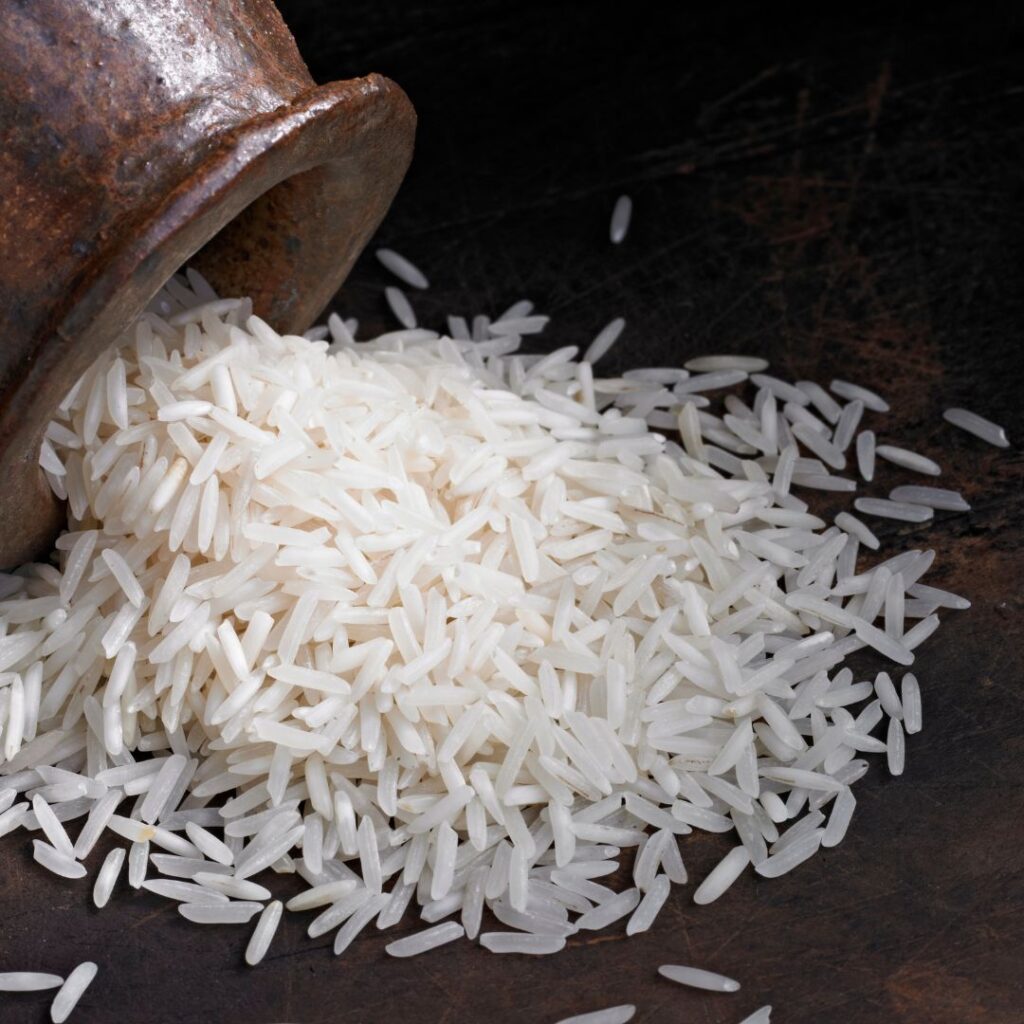
- To start making koji from scratch, you’ll need to select the right type of rice and make sure it’s properly washed and soaked. Opt for long-grain white rice for its versatility or brown rice for more savory applications. Remember, the choice between organic and non-organic depends on your preference for the fermentation process.
- First, rinse the rice thoroughly under cold water until the water runs clear. This step is essential as it removes any starch residue that might impede the growth of the koji mold. After rinsing, soak the rice for at least 6 hours, or overnight if possible. This soaking period allows for proper hydration, which is vital for the gelatinization of the rice during steaming.
- Next, steam the rice for about 45 to 75 minutes. The goal here is to cook the rice thoroughly but still maintain a firm texture. Once steamed, spread the rice out to cool evenly. It’s important that the rice isn’t too hot when you inoculate it with koji spores; aim for a temperature that’s just warm to the touch.
Selecting the Right Ingredients
To guarantee your koji thrives, selecting the appropriate substrate, such as high-quality grains, is essential. You’ll want to choose grains that best suit the specific type of koji you’re aiming to cultivate. For instance, if you’re focusing on amylase activity, long-grain white rice is your go-to due to its high amylose content. It’s versatile and guarantees efficient mold growth.
However, if your goal is a koji with a robust flavor for savory applications, brown rice, with its additional nutrients, might be the superior choice. It’s important to take into account the organic versus non-organic options as well. Organic grains can provide peace of mind regarding pesticide residues, potentially impacting the koji’s growth and flavor profile. This choice aligns with a desire for a natural and controlled fermentation process.
Preparing and Cooking Rice
Having selected the right type of rice, you’ll next need to prepare and cook it properly to optimize koji growth. Start by rinsing the rice thoroughly under cold water. You’re aiming to remove any excess starch, which becomes evident as the water runs clear. This step is vital: it not only cleans the rice but also prevents unwanted mold growth that could compete with your koji.
After rinsing, you must soak the rice. Aim for at least 6 hours, though overnight is ideal. This soaking period allows the grains to hydrate fully, which is essential for the gelatinization process during cooking. Skipping this step can result in unevenly cooked grains that may not ferment properly.
Once soaked, drain the rice well. Now, it’s time to steam it. Unlike boiling, steaming prevents the grains from becoming too wet, which is essential for maintaining the rice’s structure. Steam the rice for about 45 to 75 minutes until it’s tender but still firm. After steaming, spread the rice out to cool it down quickly to about body temperature. This careful cooling ensures the rice is at the ideal temperature for the koji to flourish when introduced.

Inoculating With Koji Spores
Once your rice is cooled to the perfect temperature, you’ll need to evenly sprinkle the koji spores over it, making sure of a thorough distribution for best growth. You’re aiming for precision here; too much or too little can impact the outcome. Use a ratio of 1 gram of spores per kilogram of rice. This precise measurement guarantees ideal growth and fermentation quality.
Next, you’ll need to mix the spores and rice gently. It’s essential to perform this step with care to avoid crushing the grains while ensuring the spores are well integrated. Think of it as blending colors evenly throughout a canvas—uniformity is key.
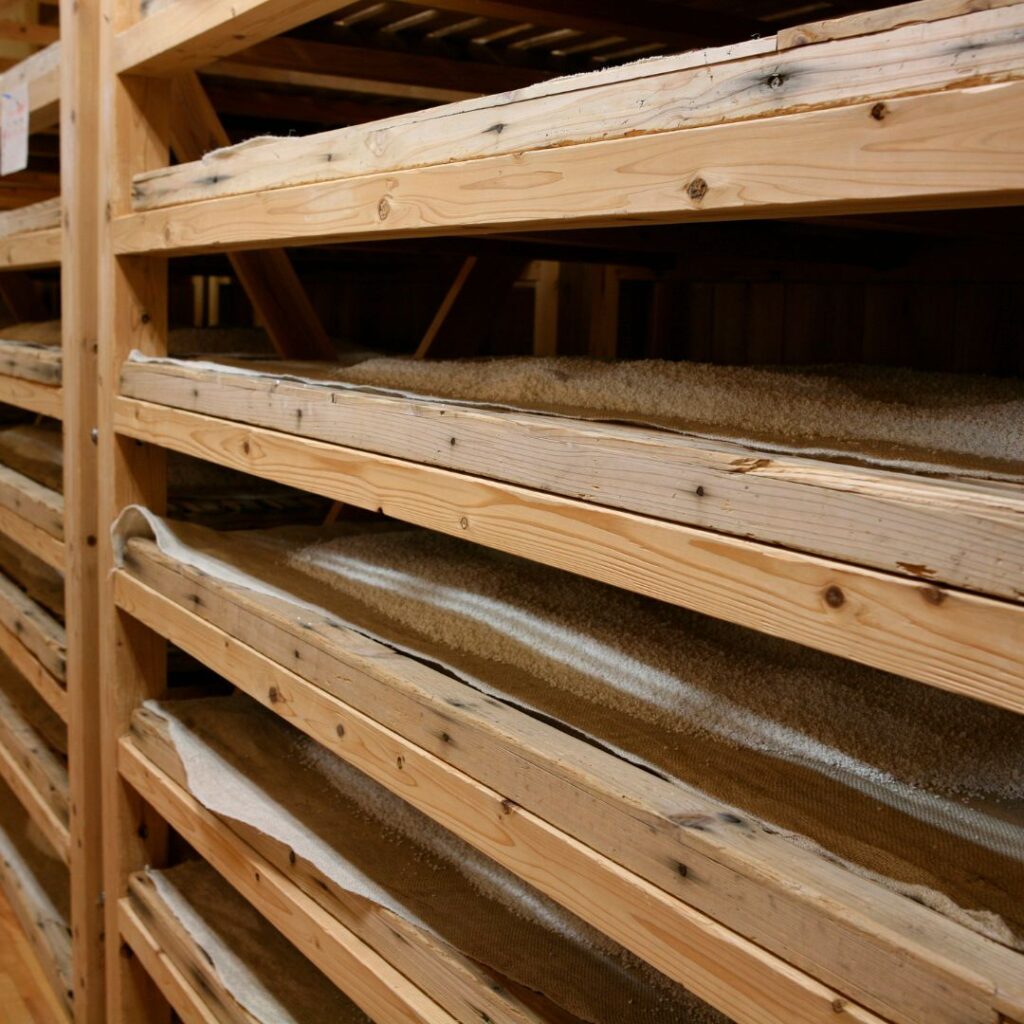
Once mixed, it’s time to transfer the inoculated rice to a clean, shallow tray. Spread it out evenly to avoid any clumps. This setup isn’t just about aesthetics; it’s about control. An even layer allows for uniform exposure to air, necessary for the koji’s development.
Managing Fermentation Conditions
After spreading the inoculated rice evenly, you’ll need to carefully manage the temperature and humidity to guarantee ideal fermentation conditions. Aim to maintain a constant temperature around 86°F (30°C), which is best for koji growth. You can use a heating mat with a thermostat to achieve this precision. It’s important that you don’t let the temperature drift too high, as it can kill the koji spores or promote unwanted bacteria.
Similarly, humidity control is important. Aim for about 70% humidity in your fermentation space. You might need to use a humidifier or place pans of water near your koji to maintain this level. It’s necessary to monitor these conditions regularly, using a hygrometer to check the humidity and a thermometer for the temperature.
Make sure there’s enough air circulation to prevent mold growth, but avoid direct drafts on your koji. Stir the rice gently a few times a day to expose all parts to air and maintain an even temperature throughout the batch. This not only prevents overheating but also ensures that the koji enzymes are evenly distributed and active across all the grains.
Can You Make Your Own Koji
Having prepared your rice as outlined, you’re now ready to make your own koji at home. The process isn’t just feasible; it’s a direct path to mastering the art of fermentation. By taking control of each step, from selecting the right type of rice to the precise distribution of spores, you guarantee the quality and uniqueness of your koji.
You’ll need to source quality koji spores, which are readily available online or from specialty food stores. Remember, the purity and origin of these spores can greatly influence the flavor and effectiveness of your koji, so choose wisely. This isn’t just about following a recipe; it’s about engaging deeply with the process and making informed choices.
Once you have your spores, the real magic begins. You’ll mix these into your cooled, steamed rice, ensuring even coverage to promote uniform growth. This step isn’t just routine; it’s a critical point where your skill can affect the outcome. By taking charge of the inoculation process, you’re not just making koji—you’re crafting a foundation for numerous traditional ferments. This is your fermentation, tailored by your hands, guided by your choices. Embrace this control, and let’s create something exceptional.
Conclusion
Now that you’ve mastered the basics of making koji, you’re ready to try it at home! Start by choosing the right grains and carefully preparing them.
Remember, maintaining the correct temperature and humidity is key to fostering the growth of your koji.
Don’t be afraid to experiment a bit—making your own koji isn’t only rewarding but also opens up a world of flavor possibilities.
Enjoy the process and the unique tastes you’ll create!
Konnichiwa! (Hello!) I'm Pat Tokuyama, a Japanese tofu cookbook author, who travels for music, food, and adventure. If you like Japanese tea, checkout some of the newestorganic japanese tea, matcha bowls and noren and more!
** Curious about the Plant Based Japanese Cooking Club? ** Learn more here!