Ready to take your baking to the next level? Why settle for store-bought vanilla extract when you can make your own? In this article, we’ll show you how to create a delicious and aromatic DIY vanilla extract that will elevate your desserts.
With just a few essential ingredients and some easy-to-follow steps, you’ll be on your way to impressing your friends and family with your homemade culinary creations.
So, let’s get started!
The Benefits of Making DIY Vanilla Extract
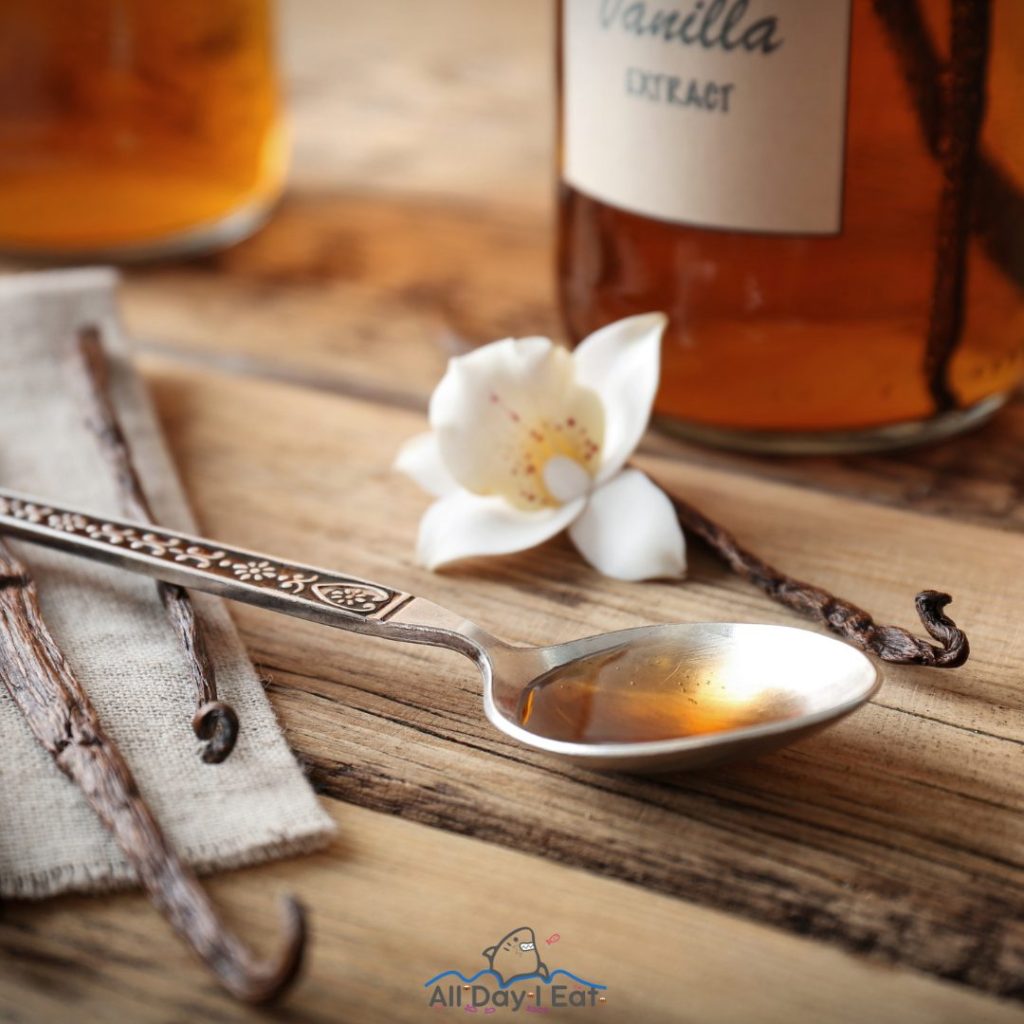
You should consider making your vanilla extract because it’s cost-effective and flavorful. By creating your vanilla extract, you can experiment with different types of vanilla beans and alcohol bases, resulting in a unique and personalized flavor profile.
Not only will you have complete control over the quality and purity of your vanilla extract, but you’ll also save money in the long run.
Store-bought vanilla extract can be expensive, mainly if you frequently use it in cooking and baking. Making your own allows you to save on costs and have a steady supply of high-quality vanilla extract.
Plus, the process of creating your own extract is a fun and innovative way to explore your culinary skills and creativity.
Essential Ingredients for DIY Vanilla Extract
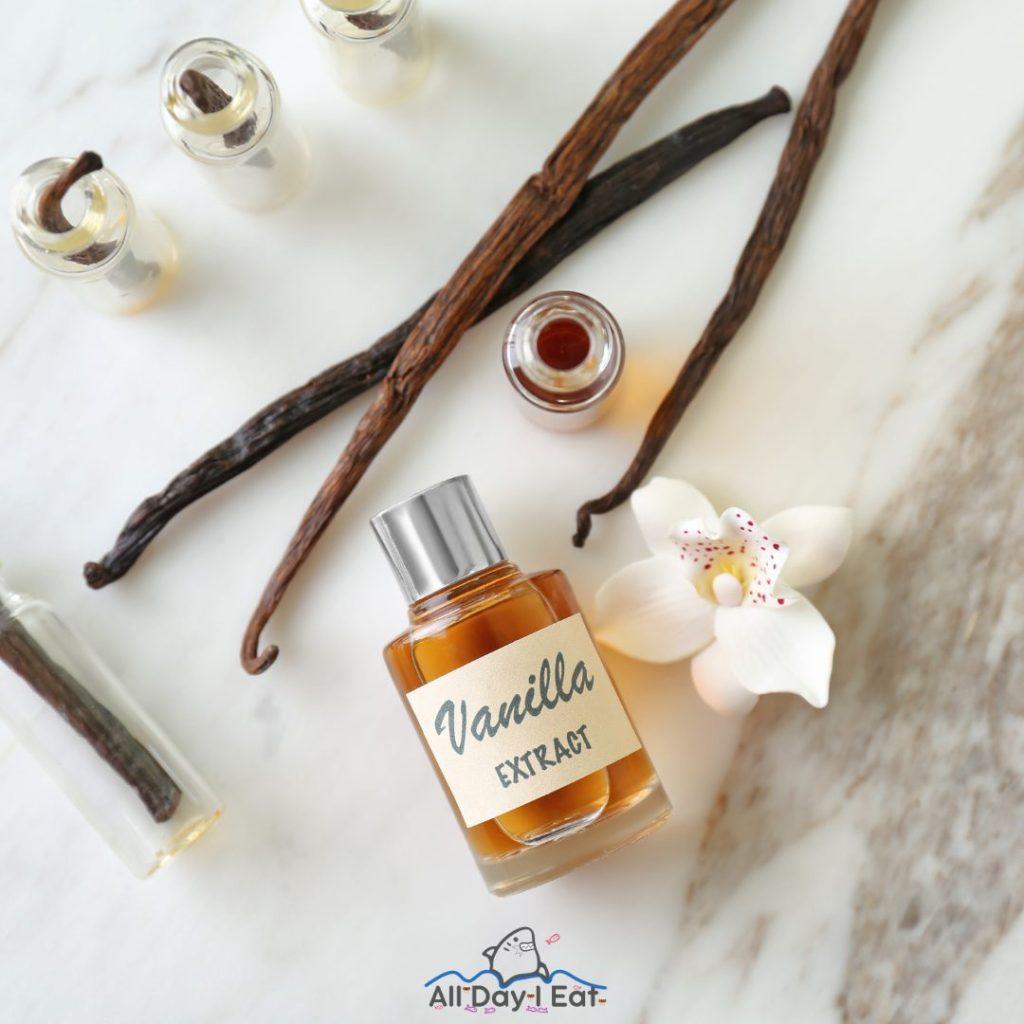
To make your vanilla extract, you’ll need three essential ingredients: vanilla beans, alcohol, and a glass jar.
Vanilla beans are the star of the show, providing the rich and aromatic flavor that we all love. Look for plump and oily beans, as they indicate freshness.
The next ingredient is alcohol, which acts as a solvent to extract the flavors from the vanilla beans. Vodka is the most commonly used alcohol, but you can experiment with other spirits like rum or bourbon for a unique twist.
Lastly, you’ll need a glass jar to store your vanilla extract. Choose a jar with a tight-fitting lid to prevent evaporation and keep your extract fresh.
With these three ingredients, you’re ready to embark on your innovative journey of making your vanilla extract.
Step-by-Step Guide to Making DIY Vanilla Extract
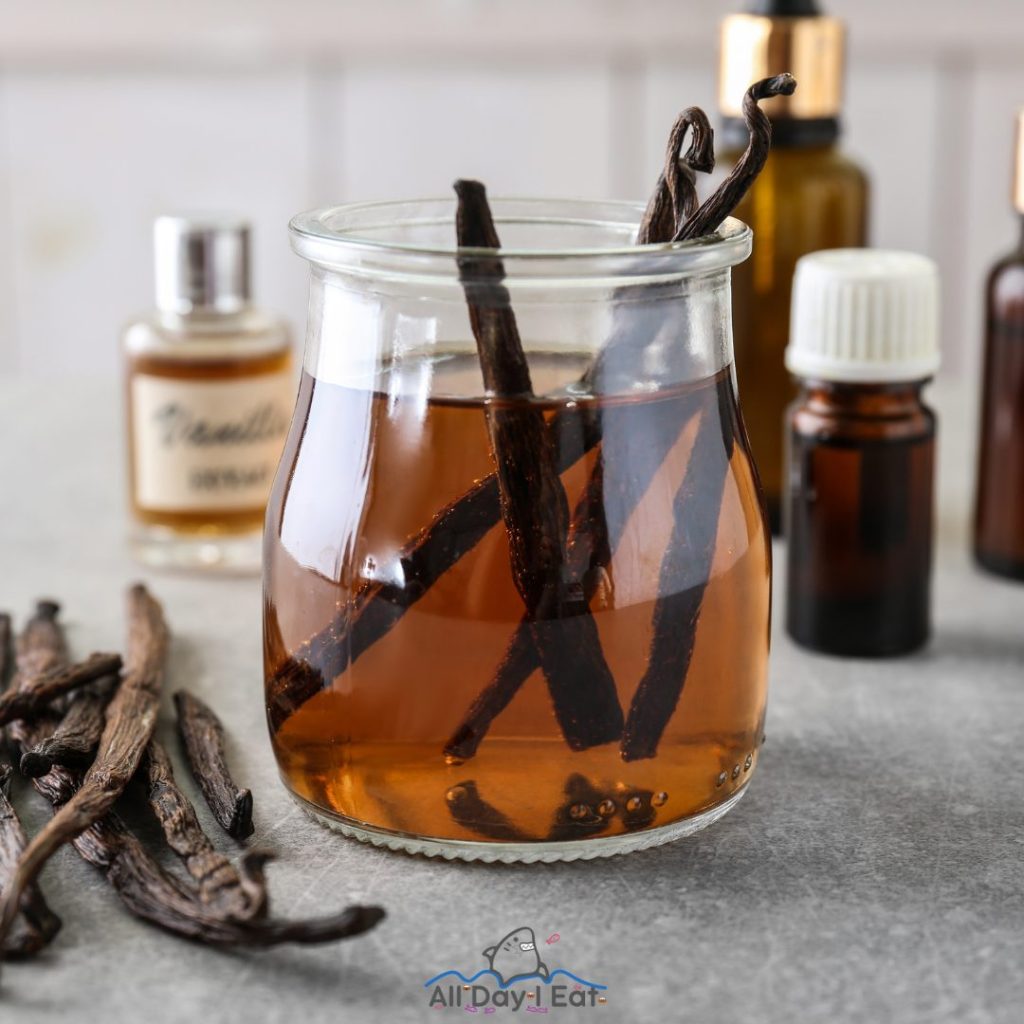
You can easily create your delicious vanilla extract at home with just a few simple steps and some patience. Making your vanilla extract not only allows you to have control over the quality and flavor, but it also gives you a sense of satisfaction and creativity.
To start, gather your ingredients: vanilla beans and alcohol, such as vodka or bourbon. Then, slice each vanilla bean lengthwise, exposing the seeds inside. Place the sliced beans in a clean glass jar and pour alcohol over them, ensuring they’re fully submerged.
Seal the jar tightly and store it in a cool, dark place for at least 8 weeks, shaking it occasionally. After the waiting period, strain the extract to remove the vanilla beans.
Now, your DIY vanilla extract is ready to elevate your baking and cooking endeavors.
Storing and Using Your DIY Vanilla Extract
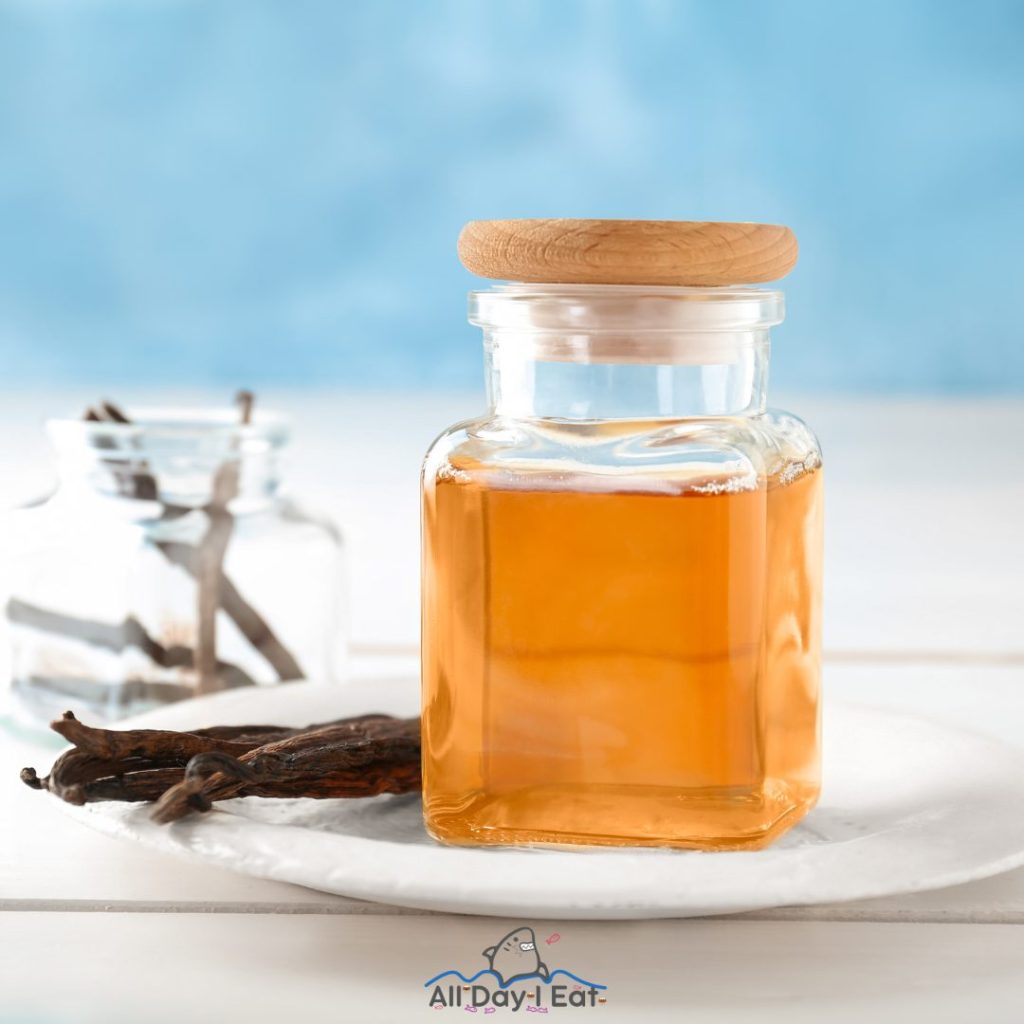
Now that you’ve made your homemade vanilla extract, it’s time to learn how to store and use it in your favorite recipes.
The good news is that storing your vanilla extract is quite simple. You only need to transfer it into a dark glass bottle or jar with a tight-fitting lid. This will help preserve its flavor and potency.
Keep the bottle in a cool, dark place, like a pantry or cupboard, away from heat and sunlight.
As for using your DIY vanilla extract, the possibilities are endless. Add a teaspoon or two to your baked goods, such as cookies, cakes, and muffins, to give them a rich and aromatic vanilla flavor.
For a delicious twist, you can also use it in custards, puddings, and even in your morning coffee. Get creative and experiment with different recipes to truly enjoy the unique taste of your homemade vanilla extract.
Tips and Tricks for Perfecting Your DIY Vanilla Extract
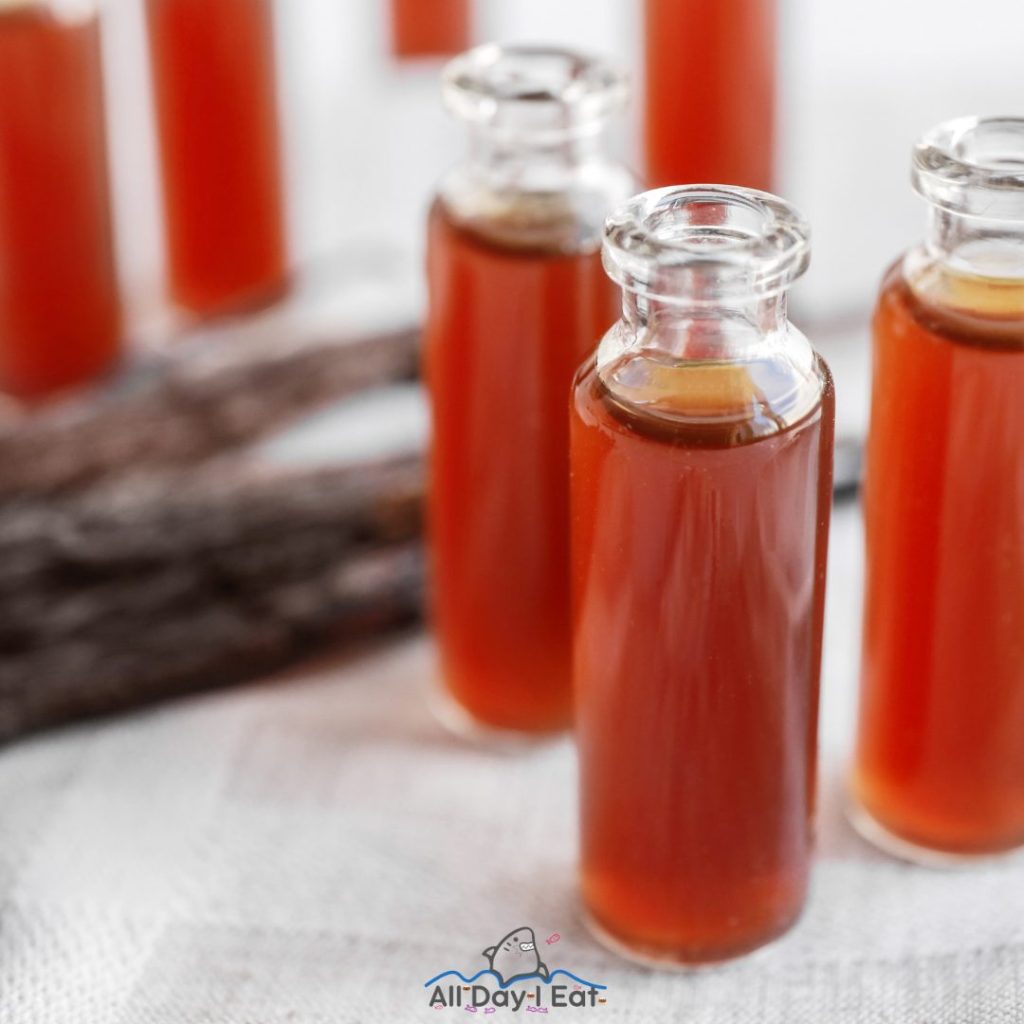
For a truly exceptional homemade vanilla extract, try adding a pinch of salt and a dash of vodka to intensify the flavor. These simple additions can take your DIY vanilla extract to the next level.
The salt helps to enhance the natural sweetness of the vanilla, while the vodka acts as a flavor enhancer, extracting even more of the vanilla’s delicious taste.
Another tip for perfecting your vanilla extract is to use high-quality vanilla beans and a high-proof alcohol. This will ensure you get the best flavor and aroma from your extract.
Also, let your extract steep for at least a few weeks to allow the flavors to develop fully.
With these tips and tricks, you can create a homemade vanilla extract that’s genuinely innovative and packed with fantastic flavor.




Konnichiwa! (Hello!) I'm Pat Tokuyama, a Japanese tofu cookbook author, who travels for music, food, and adventure. If you like Japanese tea, checkout some of the newestorganic japanese tea, matcha bowls and noren and more!
** Curious about the Plant Based Japanese Cooking Club? ** Learn more here!