You’re likely familiar with the ease and efficiency of using an Aerogarden for indoor gardening, but have you considered the possibilities of building your own system?
By creating an Aerogarden Alternatives DIY, you can tailor your setup to fit your specific needs and preferences. This approach not only potentially reduces costs but also allows you to engage more deeply with the growing process.

Whether it’s selecting the right materials, understanding water and light management, or troubleshooting common issues, the journey of assembling your homemade hydroponic system promises a fulfilling exploration of plant cultivation.
Wondering where to start and what pitfalls to avoid? Let’s discuss.
Understanding Hydroponic Principles
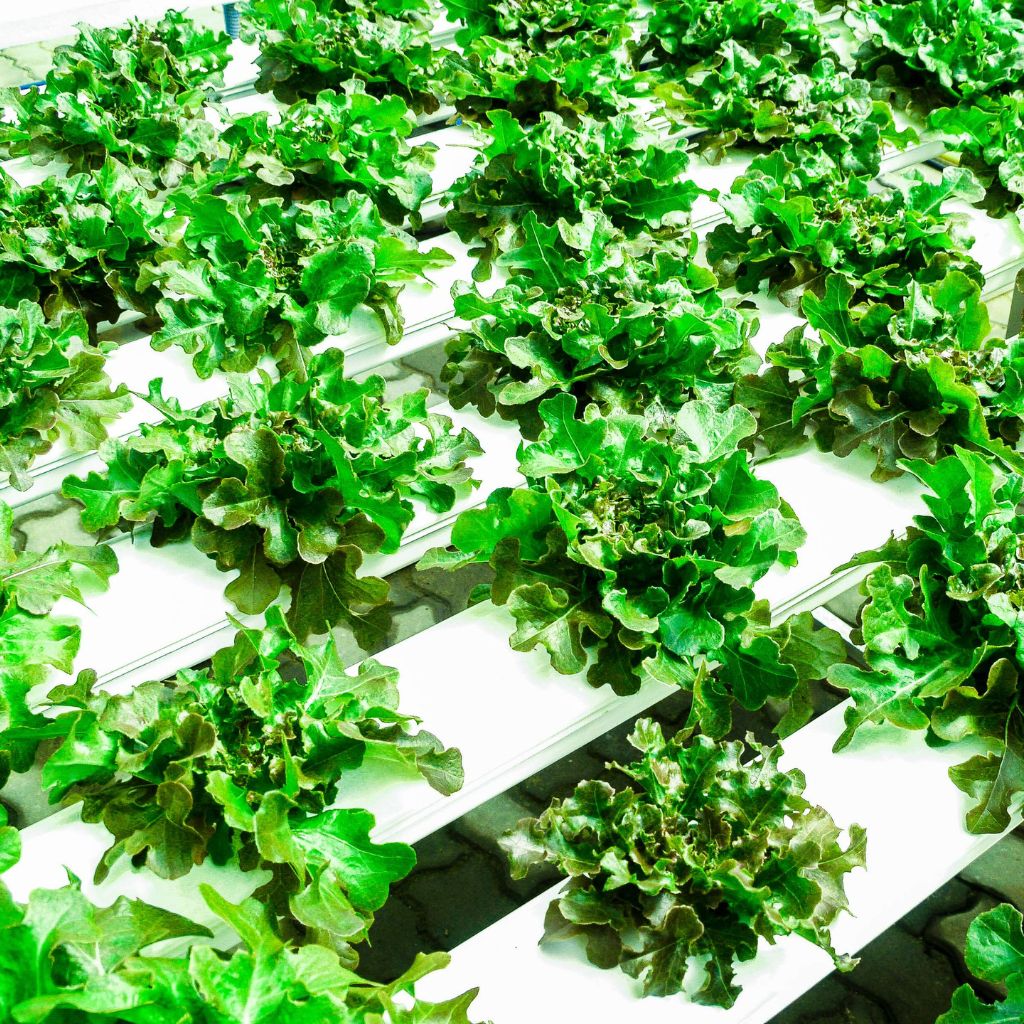
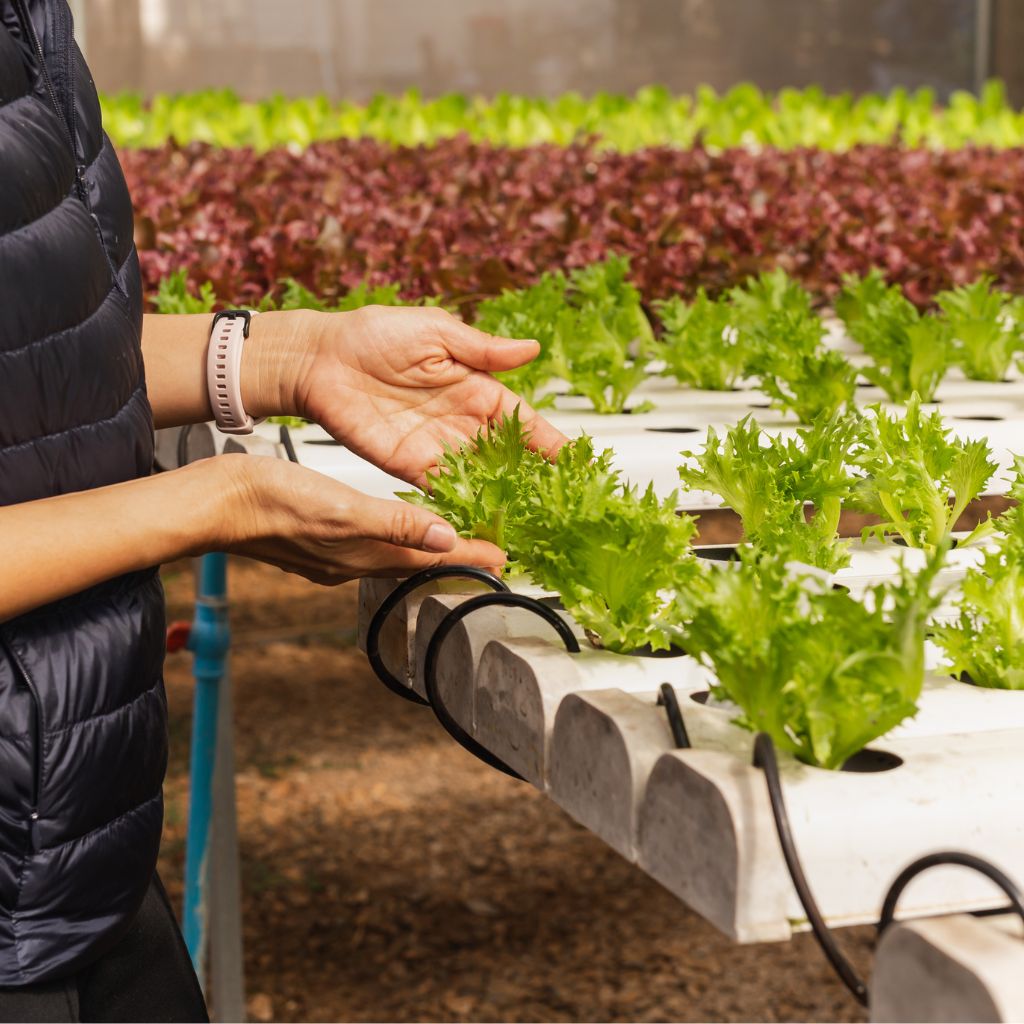
Hydroponic systems, a soil-less method of growing plants, allow you to cultivate a variety of plants indoors with greater control over nutrients and water. By mastering hydroponics, you bypass the unpredictable variables of traditional soil gardening, such as soil-borne diseases and inconsistent water distribution.
This precise control can lead to faster growth and higher yields. Think of it: no more guessing about the quality of soil or dealing with pests that thrive in soil environments. Instead, you’re creating an optimized, sterile environment where your plants can thrive without the usual hindrances.
Moreover, hydroponic gardening isn’t just about efficiency; it’s about maximizing space and resources. You can grow more in less space because roots don’t need to spread out in search of nutrients. This system is especially beneficial if you’re constrained by the physical space of an urban dwelling.
Materials and Tools Needed
To kick off your DIY Aerogarden project, you’ll need a few essential materials and tools.
- Container
- Grow Baskets or Net Pots
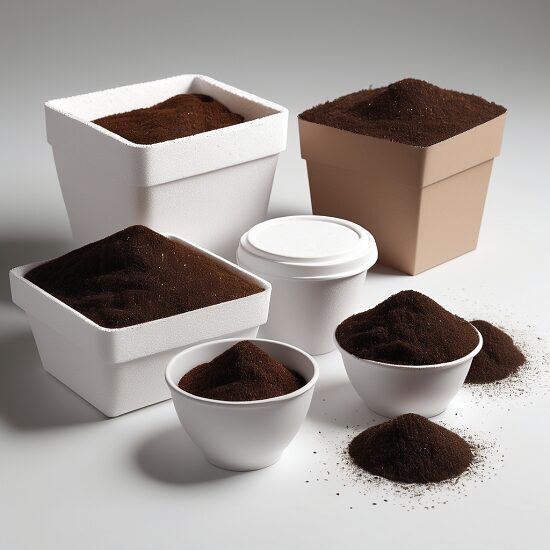
- Growing Medium (i.e. Rockwool, Clay Pebbles, Coco Coir)
- Premixed Nutrients
- pH testing kit
Start by selecting a container that fits your space and the number of plants you intend to grow. You can use a simple plastic storage bin or a more decorative planter, as long as it’s water-resistant and deep enough for your plants’ roots.
Next, gather grow baskets or net pots, which will hold your plants above the nutrient solution. Opt for reusable options to save money in the long run.
You’ll also need a suitable growing medium. Choices like rockwool, clay pebbles, or coco coir are popular due to their moisture retention and support properties. Each has its pros and cons, so pick one that suits your particular plant’s needs.
For the hydroponic solution, you can either purchase premixed nutrients or make your own from water-soluble fertilizers. Make sure you have a pH testing kit to keep your solution within the ideal range for plant growth.
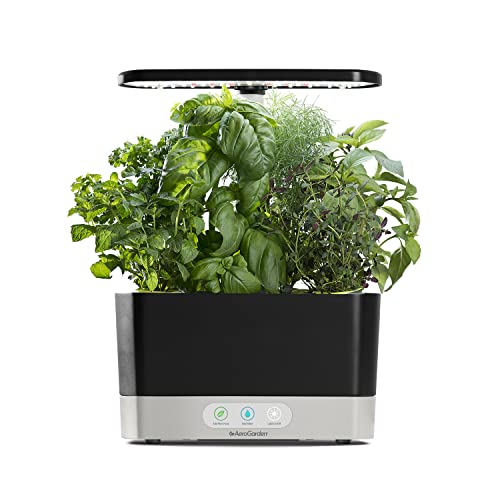 AeroGarden Harvest with Gourmet Herb Seed Pod Kit
 Easily cultivate indoor gardens with the AeroGarden Harvest. This hydroponic system supports six plants up to 12 inches tall, thriving in water without soil mess. Its 20W LED grow light accelerates germination, mimicking sunlight. The touch-sensitive control panel simplifies monitoring, reminding you to add water and plant food. Complete with LED grow light system, power adapter, plant food, and Gourmet Herb Seed Pod Kit, it's all you need for vibrant indoor greenery. Start your hassle-free gardening journey today!
- Indoor gardening made easy with AeroGarden Harvest, eliminating soil mess.
- Year-round harvests regardless of outdoor conditions.
- Compact countertop design accommodates six plants.
- Accelerated growth thanks to the 20W LED grow light.
- Higher upfront cost compared to traditional gardening methods.
- Reliance on electricity for the LED light increases energy consumption.
- Limited plant variety may be restrictive for some users.
Step-by-Step Assembly Guide
Now that you’ve gathered all your materials and tools, let’s start assembling your DIY Aerogarden step by step.
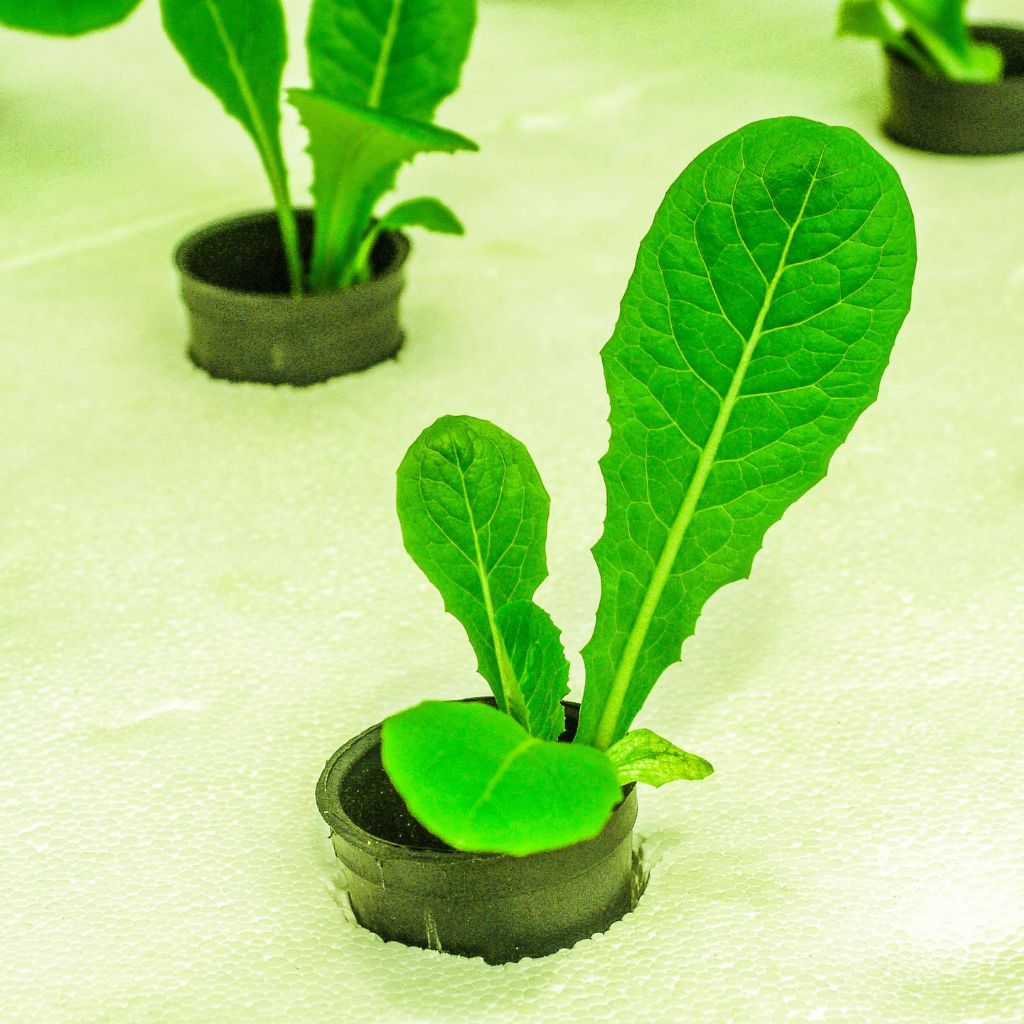
- First, take your grow baskets and make sure they’re clean and free from any debris. Place a fresh sponge into each basket—these should fit snugly without any gaps. Remember, using third-party sponges can be more cost-effective, and options like rockwool or coco coir are excellent substitutes if you’re aiming for a budget-friendly setup.
- Next, it’s time to add the seeds. Sprinkle a few seeds onto the center of each sponge, depending on the plant’s growth habits and size. It’s important not to overcrowd the seeds to give each plant enough space to thrive. After seeding, lightly cover the seeds with a small portion of the sponge material to make sure they’ve got the necessary darkness to initiate germination.
- Now, label each grow basket with the type of plant and the date of planting. This step is essential for tracking your garden’s progress and makes managing multiple plants much more straightforward. You’re in control of your garden’s layout, so organize the labeled baskets in a way that suits your space and aesthetic preferences.
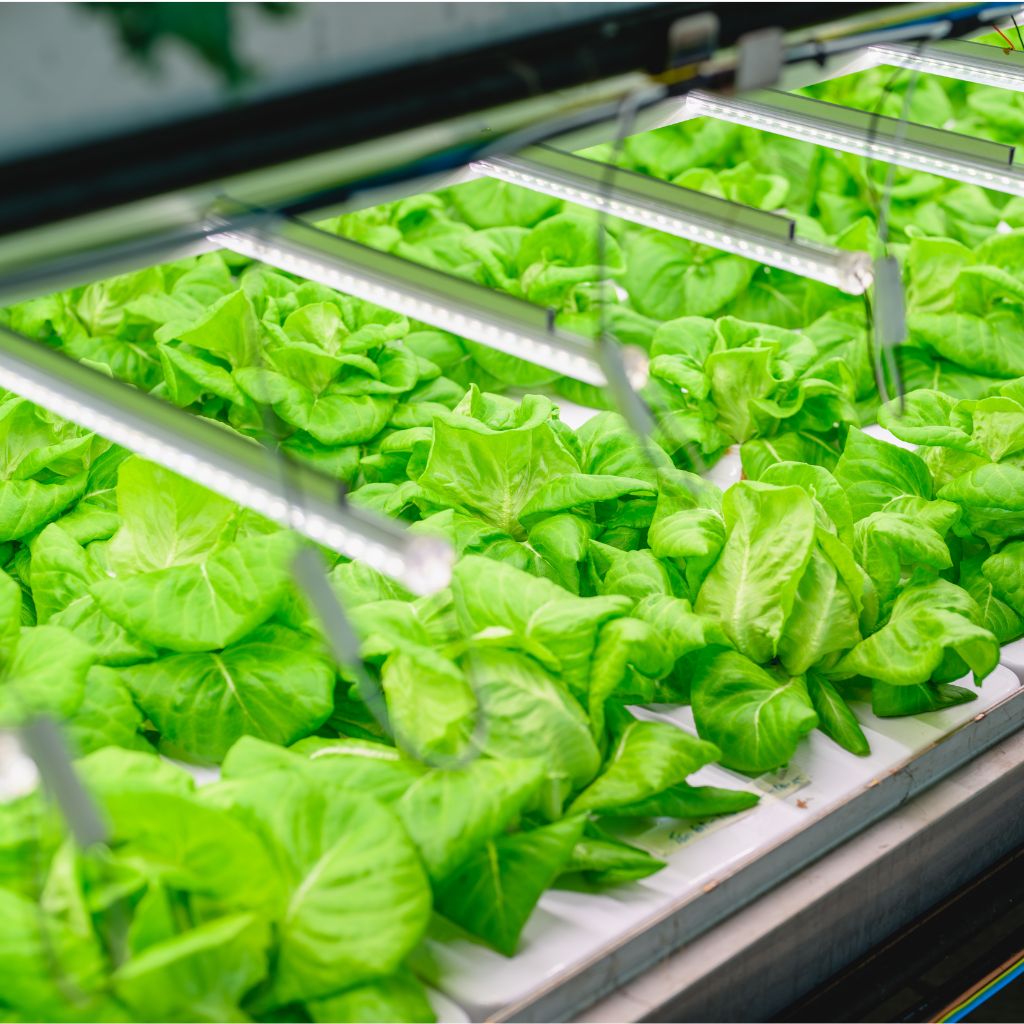
Managing Light and Water
Properly managing light and water is essential for the health of your indoor garden. You’ll want to make sure that your plants receive the ideal amount of light without overwhelming them.
Most indoor plants thrive under 14 to 16 hours of artificial light per day. Position your lights strategically above your plants, maintaining a distance that mimics natural sunlight as closely as possible. This setup empowers you to mimic natural growing conditions effectively.
Water management is equally vital. You must regulate the water supply to avoid both underwatering and overwatering, which can be detrimental to plant health. Start by checking the moisture level of your growing medium daily. It should feel damp but not soggy.
Establish a consistent watering schedule that adjusts for evaporation and plant uptake, which will vary by the ambient temperature and plant type.
Tips for Optimal Growth
Achieving optimal growth for your indoor garden requires attention to detail:
- Light Management: Adjust light exposure for each plant type and utilize timers for precise control to avoid overexposure or underexposure, which can stunt growth.
- Nutrient Optimization: Tailor nutrient mix based on plant responses to ensure balanced growth and watch for signs of deficiency, such as yellowing leaves, to make necessary adjustments.
- Water Quality: Use filtered or distilled water to prevent mineral buildup and regularly monitor pH levels to maintain optimal conditions between 5.5 and 6.5 for most plants.
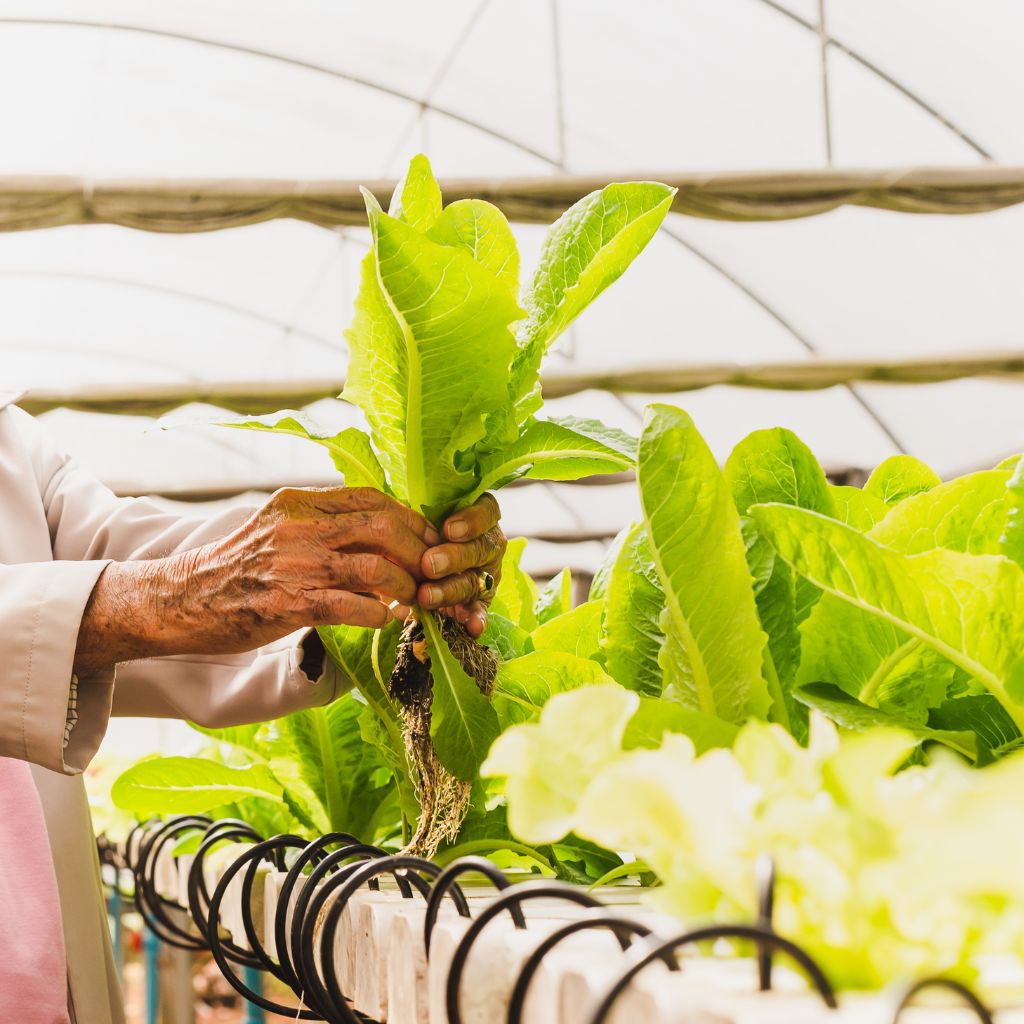
- Pruning and Harvesting: Regularly remove dead or overgrown parts to encourage healthy growth and maximize yield, maintaining a thriving indoor garden under your care.
Create a Greener Aerogarden: Eco-Friendly Tips for Sustainable Growth
Here are some eco-friendly practices you can incorporate into your Aerogarden setup:
- Recycled Containers: Repurpose items from your home, like plastic storage boxes or Styrofoam containers with lids, instead of buying new ones.
- Organic Growing Mediums: Use a mix of equal parts Vermiculture (worm castings) and Perlite. These materials promote healthy plant growth by providing essential nutrients and aeration.
- Water Efficiency: Harvest rainwater to reduce reliance on tap water and minimize waste. Implement drip irrigation or a self-watering system for efficient water distribution.
- Composting: Set up a composting system using kitchen scraps, coffee grounds, and other organic materials to create nutrient-rich compost, reducing landfill waste and enriching your garden soil.
- Energy-Efficient Lighting: Use energy-efficient LED grow lights, which consume less electricity and have a longer lifespan compared to traditional incandescent bulbs.
Every small step toward sustainability counts. By following these practices, you’ll create an eco-friendly Aerogarden that benefits both your plants and the environment.
Sources:
(1) How To Build Your Own Aerogarden (Step-by-Step Guide).
(2) Eco-Friendly Sustainable Garden Design: A Beginner’s Guide.
(3) AeroGarden Sustainability.
(4) 17 Sustainable Ways to Make Your Garden More Eco-Friendly – Martha Stewart.
(5) How to Build Your Own Aerogarden: A Step-by-Step DIY Guide.
(6) AeroGarden DIY: Build Your Own Pods and Systems.
Conclusion
Now that you’ve got the rundown on creating your own hydroponic garden, you’re ready to get started!
Gather your materials and follow the step-by-step guide to assemble your system.
Managing light and water effectively will guarantee your plants thrive.
Remember, experimentation is key to discovering what works best in your setup.
Enjoy the process and watch your indoor garden flourish with faster growth and abundant yields.
Happy gardening!
Konnichiwa! (Hello!) I'm Pat Tokuyama, a Japanese tofu cookbook author, who travels for music, food, and adventure. If you like Japanese tea, checkout some of the newestorganic japanese tea, matcha bowls and noren and more!
** Curious about the Plant Based Japanese Cooking Club? ** Learn more here!