You’ve grown a lush batch of Thai Basil in your Aerogarden, and now you’re pondering the best ways to store it to savor its freshness and distinctive flavor for as long as possible. You might know that simply placing them in a jar of water or tossing them into the freezer isn’t always enough.
Each method, from refrigerating to drying, greatly affects the taste and longevity of your herbs. Have you considered the nuances of these techniques, or how combining them might enhance not only their preservation but also their flavor?
Let’s explore how you can maximize the shelf life of your Thai Basil while maintaining its vibrant taste.
Harvesting Your Thai Basil
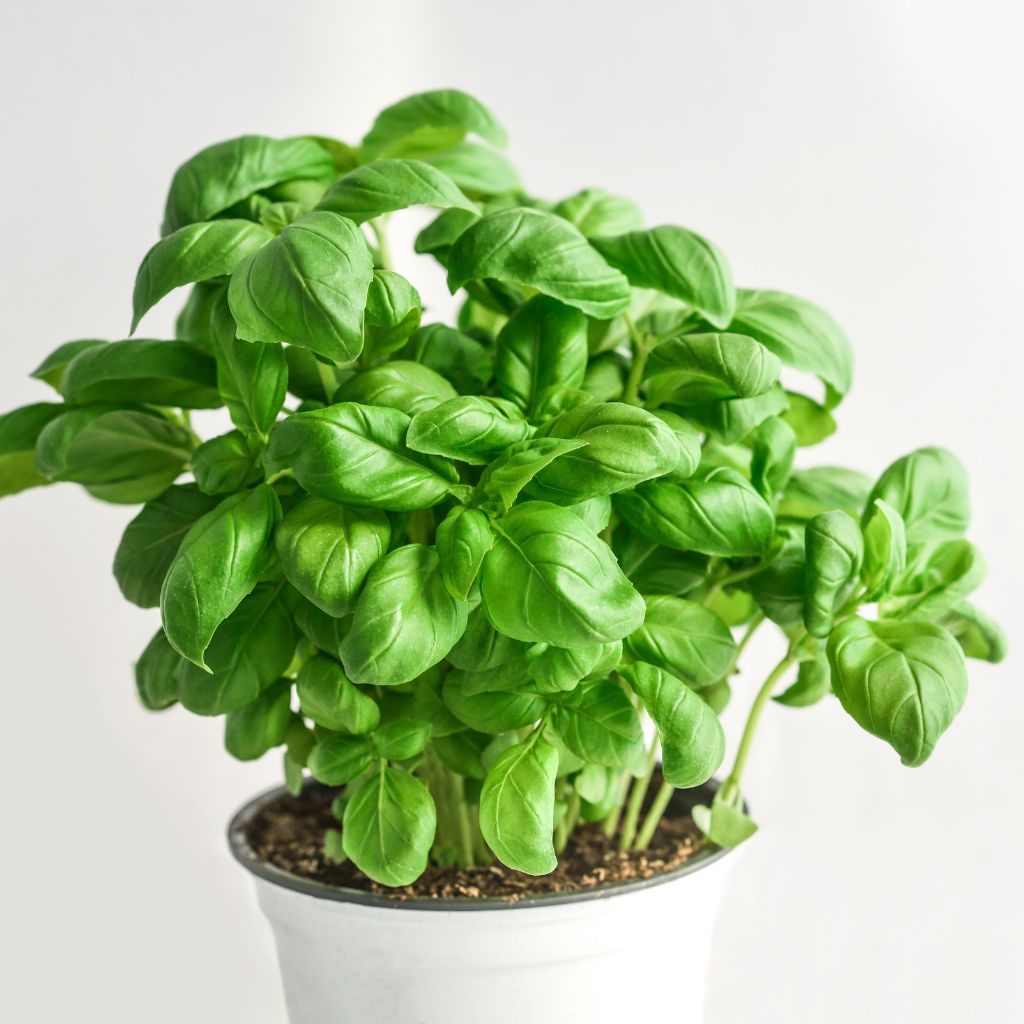

To guarantee a robust and continuous supply, start harvesting your Thai basil early in its growth cycle. This strategic approach not only maximizes yield but also assures that your plant remains vigorous and productive throughout the season.
- You’ll want to begin by snipping the top leaves as soon as the plant reaches about six inches tall. This initial pruning will encourage the basil to branch out, resulting in a fuller, bushier plant.
- Make sure you’re cutting just above the leaf nodes, which is where new leaves will sprout. By doing so, you’re not only harvesting but also training your basil to grow more densely.
It’s essential to maintain this practice regularly; aim to prune your basil every two to three weeks. This frequency keeps the plant in a continual state of growth and prevents it from becoming leggy or sparse.
 AeroGarden Harvest with Gourmet Herb Seed Pod Kit
 Easily cultivate indoor gardens with the AeroGarden Harvest. This hydroponic system supports six plants up to 12 inches tall, thriving in water without soil mess. Its 20W LED grow light accelerates germination, mimicking sunlight. The touch-sensitive control panel simplifies monitoring, reminding you to add water and plant food. Complete with LED grow light system, power adapter, plant food, and Gourmet Herb Seed Pod Kit, it's all you need for vibrant indoor greenery. Start your hassle-free gardening journey today!
- Indoor gardening made easy with AeroGarden Harvest, eliminating soil mess.
- Year-round harvests regardless of outdoor conditions.
- Compact countertop design accommodates six plants.
- Accelerated growth thanks to the 20W LED grow light.
- Higher upfront cost compared to traditional gardening methods.
- Reliance on electricity for the LED light increases energy consumption.
- Limited plant variety may be restrictive for some users.
Immediate Use Storage Tips

If you’re planning to use your Thai basil right away, here are the best methods to keep it fresh and ready. First, you’ll want to prune your basil properly. Once pruned, place the stem ends into a jar filled with water. This setup mimics the plant’s natural environment, keeping it vibrant and lush.
For an added boost, especially if your home’s air tends to be dry, cover the basil and jar loosely with a plastic bag. This creates a mini greenhouse effect, maintaining ideal humidity around your basil. It’s important to store the jar at room temperature; cold temperatures can damage the delicate leaves.
To make sure the basil remains at its peak, change the water every few days. During each water change, take a moment to trim the stems slightly. This not only helps prevent rot but also encourages the absorption of fresh water, which keeps your basil perky and aromatic.
Long-Term Freezing Methods
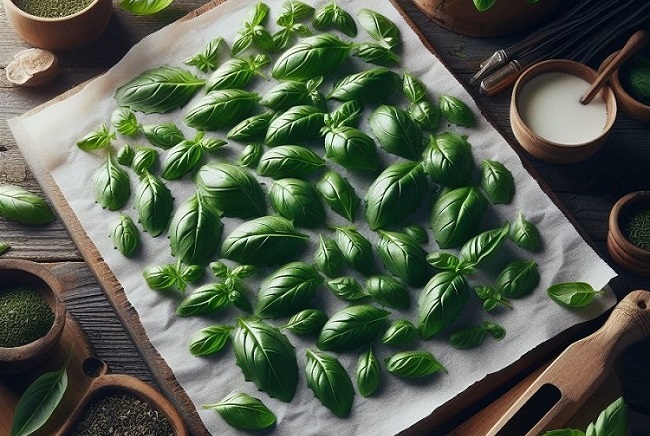

Consider freezing your Thai basil to preserve its flavor for months.
- Harvest the healthiest leaves from your AeroGarden, ensuring they’re clean and dry.
- Gently pat the leaves with a paper towel to remove excess moisture and prevent freezer burn.
- Chop the leaves or leave them whole based on your cooking preferences.
- Flash freeze the leaves on a baking sheet to prevent clumping, or pack them into airtight freezer bags.
- Squeeze out air from the bags to prevent oxidation and maintain vibrant flavors.
- Mix chopped basil with olive oil or butter and pour into ice cube trays for convenient cooking aids.
- Once frozen, store the cubes in freezer bags and add directly to your cooking for a burst of Thai basil flavor.
Drying Techniques for Thai Basil
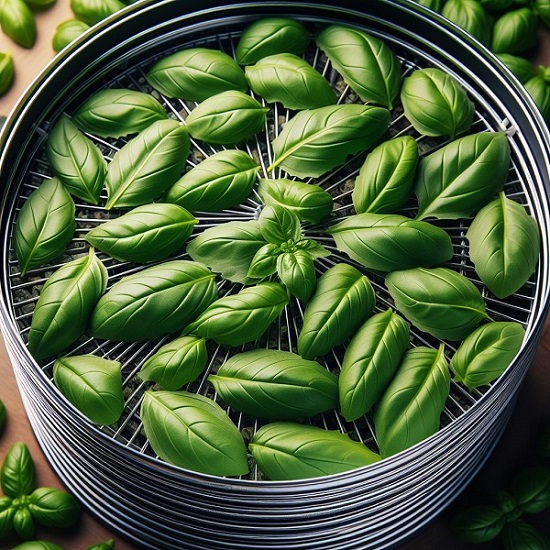

Often, drying Thai basil effectively preserves its aromatic qualities for extended use in your culinary creations. You’ll want to choose the best method to guarantee those vibrant flavors remain intact. Here’s how you can take control and dry your Thai basil with precision.
- Start by harvesting your Thai basil in the morning, as this is when the plant’s essential oils are at their peak. Make sure the leaves are clean and free from any moisture.
- If you’re using a traditional air-drying method, tie the stems together and hang them upside down in a warm, well-ventilated area away from direct sunlight. Cover them with a paper bag to protect from dust and to catch any leaves that might fall off.
- Alternatively, you can use a dehydrator for more consistent results. Set the temperature between 95°F to 115°F and check periodically until the leaves are crispy, which typically takes 1 to 4 hours depending on the thickness of the leaves and humidity levels.
- Once dried, crumble the leaves and store them in an airtight container away from light and heat. This approach gives you the flexibility to manage how much moisture is removed, ensuring your Thai basil retains its maximum flavor and aroma.
Preserving Freshness: Vacuum Sealing Thai Basil
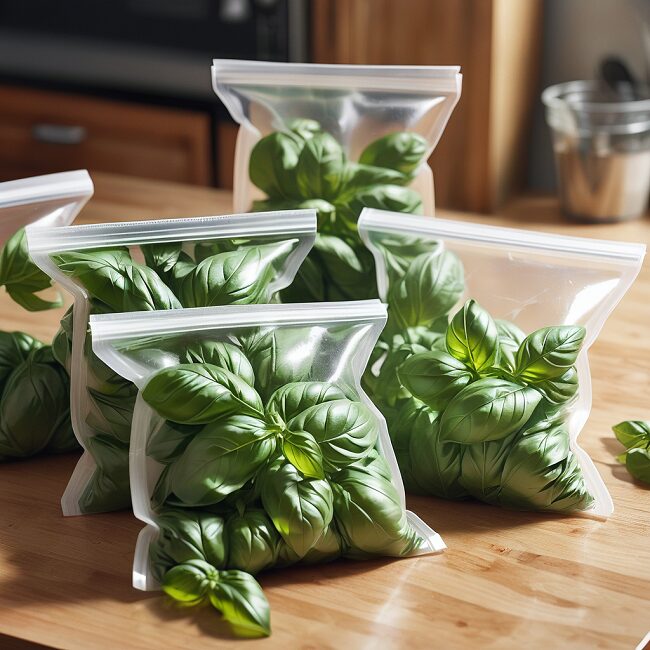

Vacuum sealing is an excellent way to keep Thai basil fresh and flavorful for an extended period. Here are some tips for vacuum sealing fresh herbs like Thai basil:
- Choose Fresh Basil: Start with fresh, vibrant Thai basil leaves. The fresher they are, the better they’ll retain their flavor.
- Blanch the Leaves: For herbs with delicate leaves (such as basil, cilantro, and mint), blanching helps preserve their flavor. Briefly dunk the leaves in boiling water for a few seconds, then transfer them to ice water. Pat them dry with a paper towel before vacuum sealing.
- Portion Control: Vacuum seal the basil in small portions. Avoid putting all the herbs in one large bag; instead, seal them in quantities suitable for a single use. Label each bag for easy identification.
- Freeze Immediately: If you plan to store the basil for longer than a couple of days, freeze it. Freezing helps retain flavor and freshness. In the fridge freezer, vacuum-sealed herbs can stay fresh for up to 6 months.
- Avoid Thawing: When using vacuum-sealed herbs, there’s no need to thaw them. Use them directly from the freezer—chopped for salads, garnishes, or whole in stews and dishes.
Remember, vacuum sealing removes air and prevents oxidation, ensuring your Thai basil stays at its best!
Sources:
(1) Can You Vacuum Seal Fresh Herbs?
(2) How To Vacuum Seal Fresh Basil
(3) Maximize Your Herbs’ Freshness: Learn To Vacuum Seal Them Like A Pro
Using Preserved Thai Basil
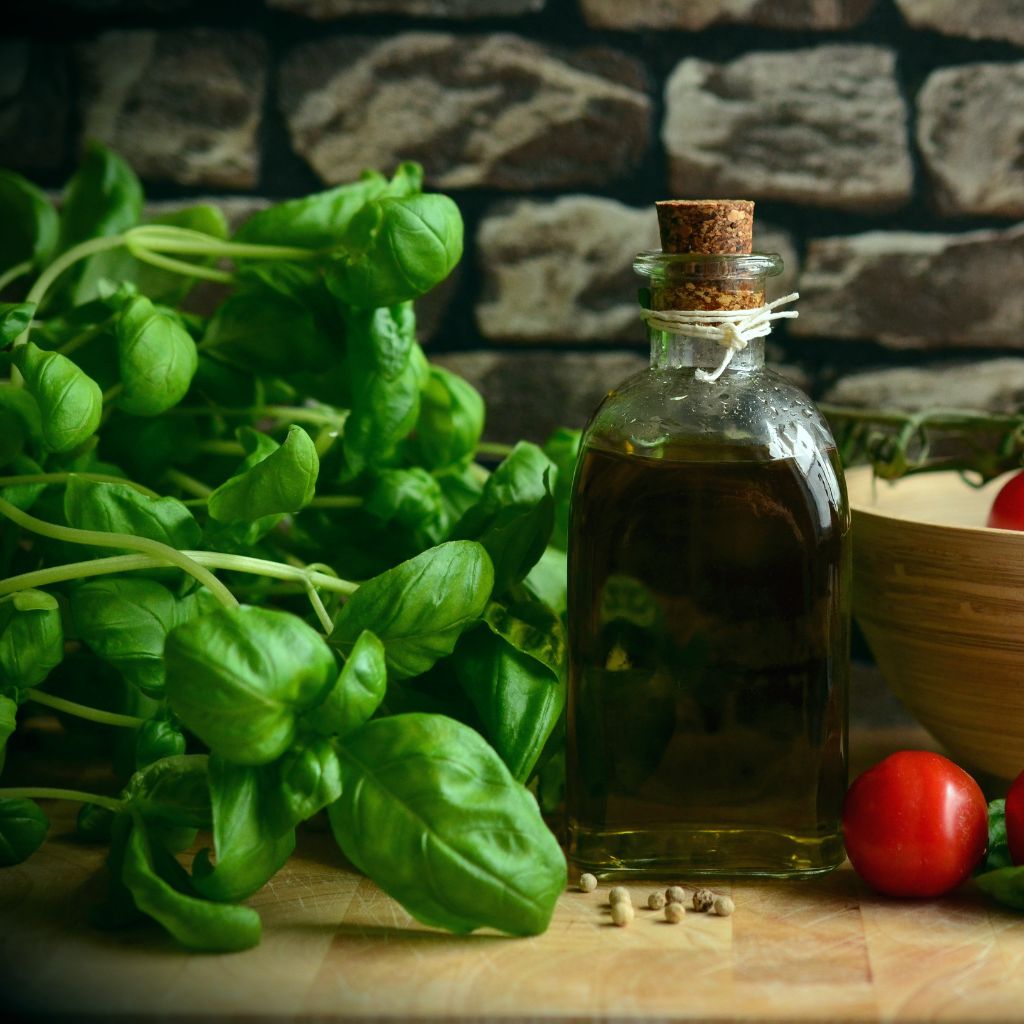

Using your preserved Thai basil, you can effortlessly enhance the flavor of your dishes, adding a burst of vitality even out of season. Whether you’ve dried, frozen, or stored it in oil, each method offers unique ways to elevate your culinary creations.
- Dried Thai Basil: Crush dried Thai basil leaves between fingers to release potent oils before adding to sauces, soups, or stews. This method enhances the herb’s aroma and flavor, elevating your dish to new heights.
- Frozen Thai Basil Cubes: Freezing Thai basil in ice cubes (water or oil) provides a ready-to-use ingredient. Ensure to label the cubes for easy identification and organization in your freezer.
- Oil-Based Thai Basil Cubes: Drop an oil-based Thai basil cube into a pan for stir-fries or sautés; slow melt infuses subtle, aromatic flavor. Experiment with different oil bases, like sesame or chili-infused oil for a unique twist.
- Thai Basil Infused Olive Oil: Thai basil preserved in olive oil is ideal for dressings or finishing oil. Store the infused oil in a dark, cool place to maintain its freshness and flavor.
Conclusion
Now that you’ve mastered storing Thai Basil from your Aerogarden, you’re all set to keep it fresh and flavorful.
Whether you’re using it right away or preserving it for the future, these methods guarantee your basil remains aromatic and ready for your recipes.
Don’t forget to experiment with freezing in oil or butter for easy cooking additions, and enjoy the taste of your home-grown herb in your meals long after you’ve harvested it.



Konnichiwa! (Hello!) I'm Pat Tokuyama, a Japanese tofu cookbook author, who travels for music, food, and adventure. If you like Japanese tea, checkout some of the newestorganic japanese tea, matcha bowls and noren and more!
** Curious about the Plant Based Japanese Cooking Club? ** Learn more here!