Just as you were pondering about moving your lush basil from the Aerogarden to a classic pot, it's important you don't rush the process. You'll need to make sure both the timing and the new environment are perfect for your plant. Start by selecting a pot that complements the size of your basil's root system; too large a pot could drown its roots, too small might stifle growth. But exactly how do you assess when your plant is ready for the move, and what signs should you look for to avoid transplant shock? This key decision can make or break your plant's adaptation to its new home.
Key Takeaways
- Choose a pot with adequate drainage holes and one size larger than the Aerogarden pod.
- Prepare a well-draining potting mix, pre-moistened, to fill the new pot.
- Gently remove the plant from the Aerogarden, taking care not to damage the roots.
- Position the plant in the center of the pot and gently fill around with soil, avoiding compaction.
- Water immediately after transplanting to settle the soil around the roots and eliminate air pockets.
Assessing Plant Readiness
Before transplanting, you should frequently check if your plants' roots are overcrowded, a clear sign they're ready for more space. You'll want to keep a close eye on this, as timely intervention is important to prevent stress and guarantee a smooth change. It's in your control to determine when your plants need a change, so don't underestimate the significance of this step.
You also need to evaluate the overall health of your plants. Look for vibrant, robust growth above the soil and avoid moving any plants that show signs of disease or severe nutritional deficiencies. These issues should be addressed right where they are, because transplanting stressed plants can worsen the problem.
Don't forget to take into account the timing. The best transplant results often come when you move your plants during their active growth periods. Spring or early summer are ideal, as the longer days provide ample light and help the plants settle in before the cooler, slower months of fall and winter. You've got the reins here; by choosing the best time, you're setting your plants up for success in their new homes.
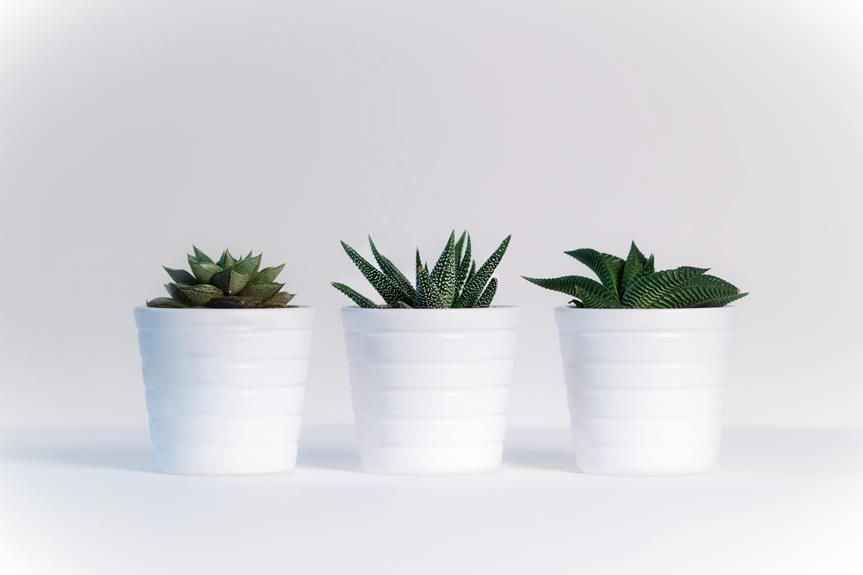
Choosing Suitable Pots
Once you've determined your plants are ready, it's vital to select the right pots that will accommodate their growth and guarantee proper drainage. Choosing pots with sufficient drainage holes is non-negotiable. These features are important to prevent water from accumulating at the bottom, which could lead to root rot or other harmful conditions. You're in control of securing the longevity and health of your plants by making this wise choice.
Consider the material of the pots. Clay or terracotta pots are porous and enhance airflow and moisture regulation, which is beneficial for most plants. However, they can be heavy and might break easily. Plastic pots are lightweight and retain moisture longer but may not offer the same airflow. Your decision should align with the specific needs of your plants and your ability to manage them effectively.
Size is another critical factor. A pot that's too small can restrict root growth, while one that's too large may cause the soil to dry unevenly, potentially stressing the plant. As a general rule, choose a pot that's one size larger than the current Aerogarden pod. This ensures enough room for growth without compromising the plant's current comfort.
You're steering the ship here; let your knowledge guide your choices.
Selecting the Right Soil
Selecting the appropriate soil is essential for moving your plants from an Aerogarden to pots. You'll want a mix that guarantees your plants will thrive in their new environment. The right soil affects drainage, nutrient availability, and root aeration, playing a pivotal role in your plants' health.
When you're shopping for soil, consider these key factors:
- Drainage and Aeration: Look for soil that's loose and well-draining. A soil mix with perlite or vermiculite will prevent waterlogging, which can be deadly for your plants.
- Nutrient Content: Choose soil fortified with nutrients suitable for your specific types of plants. Often, a mix with compost or slow-release fertilizers will give your plants a good start.
- pH Level: The pH of the soil should match the needs of your plants. Most plants prefer a pH between 6.0 and 7.0, but some might need more acidic or alkaline conditions.
Gathering Necessary Tools
Gather the essential tools you'll need for transplanting your Aerogarden plants into pots. Start with a set of clean, sharp scissors or pruning shears for trimming any excess roots without damaging them.
You'll also need a small spade or a spoon to assist in lifting the plants from the Aerogarden. Be sure to have a few towels or newspapers handy to catch any drips or debris, keeping your workspace tidy and controlled.
Next, consider investing in a moisture meter. This tool isn't strictly necessary, but it gives you precise control over the moisture levels in your new pots, ensuring your plants don't suffer from over or under-watering as they adjust.
Gloves are also advisable to keep your hands clean and protect them from any sharp plant parts or soil additives.
Preparing the Pots
Before transplanting, make sure your pots are thoroughly cleaned and have adequate drainage holes to prevent water logging. It's essential you start with a clean slate to guarantee your plants thrive free from diseases carried over from previous occupants. Scrub the insides with a brush and a mild soap solution, then rinse them well to remove any soap residue.
Choosing the right soil mix is next. You'll want to contemplate a mix that retains moisture without becoming soggy, as this balance is key to root health. Here's what you need to focus on:
- Soil Composition: Opt for a well-draining potting mix that includes components like peat moss, perlite, and vermiculite. This combination will support moisture retention while allowing excess water to drain.
- Pot Size: Select a pot that's slightly larger than the root ball of your plant. This gives roots room to spread without being overly spacious, which can lead to water retention issues.
- Pre-Moistening Soil: Before filling your pots, lightly moisten the soil. This preps the soil to provide a welcoming environment for the roots, easing their shift and reducing transplant shock.
Gently Removing Plants
Carefully lift your plants from the Aerogarden to minimize root damage during the move. It's important you handle them with the utmost care to maintain their health and vigor. Begin by carefully evaluating the base of each plant. You'll want to identify where the roots naturally separate from the Aerogarden's sponges or grow media.
Next, use a gentle touch to tease the roots free. If they're entangled or tightly bound, slowly work them loose without yanking or pulling harshly. This step requires patience; don't rush it as it's essential for preserving the integrity of the root structure.
To help you maintain control throughout this process, here's a straightforward guide:
| Step | Action |
|---|---|
| 1 | Evaluate root attachment to the Aerogarden media. |
| 2 | Gently tease out the roots using your fingers or a small tool. |
| 3 | Lift the plant while supporting the root base. |
| 4 | Place the plant immediately into prepared water or a moist environment. |
Root System Care
Once you've successfully removed your plants, it's important to inspect and maintain their root systems to make sure they continue to thrive in their new environment. The roots, having adapted to the water-based Aerogarden system, will need special attention to adjust to soil conditions. You'll want to make sure they're healthy and ready for this change.
Begin by gently rinsing the roots with lukewarm water to remove any nutrient solution residue. This step is vital to prevent potential shock when introducing them to a new medium. Carefully untangle any roots that are clumped together to promote better growth and prevent root rot. It's also essential to inspect for signs of damage or disease.
Trim Dead or Overly Long Roots: Use sharp, clean scissors to cut away any roots that are brown, mushy, or excessively long. This promotes healthier, more vigorous growth.
Apply a Root Stimulator: Consider using a root stimulator to help roots recover and adapt quicker to the soil environment.
Hydrate Roots Before Planting: Soak the roots in a water solution for a few minutes to make sure they're hydrated before moving to soil.
These steps put you in control of the health and vigor of your plants as you move them to their new home.
Transplanting Techniques
Now that your plant's roots are prepared, let's focus on the correct techniques for transplanting them into pots. This process is crucial, and doing it right will guarantee your plants thrive in their new environment.
Firstly, choose a pot that's slightly larger than the root ball of your plant. This gives them room to grow without being too spacious, which can lead to waterlogging. Ensure the pot has adequate drainage holes. This is essential as proper drainage is crucial for preventing root rot and other moisture-related issues.
Gently remove the plant from the Aerogarden. It's important to handle the roots with care to avoid stress. Place the plant in the center of the pot and gradually fill around it with potting mix. Don't press down too hard, as compact soil can hinder root growth.
Here's a simple table to evoke the steps and emotions involved in this change:
| Step | Emotion |
|---|---|
| Choosing the right pot | Control and anticipation |
| Removing the plant | Care and precision |
| Positioning in the pot | Focus and determination |
| Filling with soil | Gentleness and thoroughness |
| Final positioning | Satisfaction and hope |
Watering After Transplant
After transplanting your plant, it's vital to water it immediately to help settle the soil and eliminate air pockets around the roots. This initial watering is important; it not only moistens the soil but also ensures that your plant's roots make good contact with their new environment, enhancing stability and nutrient uptake.
When watering, you must adjust your approach based on the type of plant and the soil condition. Here are a few guidelines to keep in mind:
- Water Volume: Make sure you provide enough water to reach the entire root system. The amount of water will depend on the size of the pot and the plant's specific needs. Typically, until you see water running out of the drainage holes, you've reached an adequate level.
- Water Frequency: Initially, keep the soil consistently moist but not waterlogged. After the plant has settled, adjust the frequency according to the plant type and environmental conditions.
- Water Quality: Use room temperature water to avoid shocking the plant's roots. If possible, use filtered or rainwater, especially if your tap water is hard or chemically treated.
Post-Transplant Care Tips
To guarantee your plant thrives in its new pot, monitor its light exposure and adjust as necessary. Your plant's light needs might differ from those in the Aerogarden, where conditions were controlled and consistent. Position the pot in a spot where it can receive the right amount of natural sunlight. Too much sun can scorch leaves, while too little can stunt growth.
You'll also need to be vigilant about watering. The soil shouldn't be soggy, but it mustn't dry out completely either. Stick your finger about an inch into the soil; if it feels dry, it's time to water. This method ensures you're responding to the plant's needs rather than sticking to a rigid schedule.
Keep an eye on humidity levels too, especially if you're moving a tropical plant. Consider using a humidity tray or a small room humidifier if your indoor air is too dry.
Konnichiwa! (Hello!) I'm Pat Tokuyama, a Japanese tofu cookbook author, who travels for music, food, and adventure. If you like Japanese tea, checkout some of the newestorganic japanese tea, matcha bowls and noren and more!
** Curious about the Plant Based Japanese Cooking Club? ** Learn more here!