Effortless No-Knead Bread: Start to Finish in 21 Hours
No Knead Bread in start to finish 21 hours
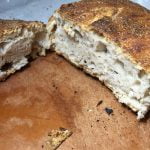
- Prep Time: 15 minutes
- Cook Time: 1 hour
- Total Time: 21 hours 15 minutes
- Yield: 1 loaf 1x
- Category: side
- Cuisine: New American
Ingredients
- 3 cups bread flour (more for dusting)
- ¼ teaspoon active dry yeast
- 1 and 1/4 teaspoons salt
- wheat bran (as needed)
- 1.5 cups water
Instructions
- In a large bowl combine flour, yeast and salt. Mix by hand to ensure dry ingredients are evenly distributed.
- Add 1 1/2 cups water, and stir by hand until mixed. Cover bowl with plastic wrap. Let dough rest at least 12 hours.
- Dough is ready when its surface is dotted with bubbles. Lightly flour a work surface and place dough on it; sprinkle it with a little more flour and fold it over on itself twice.
- Cover loosely with a damp towel and let rest another 2 hours.
Generously coat a cotton towel (not terry cloth) with flour, wheat bran or cornmeal; put dough seam side down on towel and dust with more flour, bran or cornmeal.
Cover with another cotton towel and let rise for about 2 hours. When it is ready, dough will be more than double in size and will not readily spring back when poked with a finger.
- At least a half-hour before dough is ready, heat oven to 450 degrees.
- Put a 6- to 8-quart heavy covered pot (cast iron, enamel, Pyrex or ceramic) in oven as it heats. When dough is ready, carefully remove pot from oven. Slide your hand under towel and turn dough over into pot, seam side up; it may look like a mess, but that is O.K. Shake pan once or twice if dough is unevenly distributed; it will straighten out as it bakes.
- Cover with lid and bake 30 minutes, then remove lid and bake another 15 to 20 minutes, until loaf is beautifully browned. Cool on a rack.
Notes
I let the dough rest for 18 hours for the first rise. Second rise was 2 hours.
I watched the video and read the comments prior to making this. The original video and the original recipe as written are a bit different so be mindful of that.
There’s a certain magic in baking bread at home. The aroma filling the kitchen, the warmth emanating from the oven, and the sheer satisfaction of pulling out a perfectly golden loaf. For many, the idea of homemade bread conjures images of endless kneading, intricate techniques, and hours spent slaving over dough. But what if I told you there’s a way to achieve bakery-quality bread with minimal effort, a method that aligns beautifully with the Japanese philosophy of appreciating natural ingredients and allowing time to work its wonders?
Here at Alldayieat.com, we’re all about bringing authentic Japanese flavors and culinary wisdom into your home. While bread isn’t traditionally Japanese, the principles behind this **no-knead bread** recipe—simplicity, patience, and honoring the ingredients—resonate deeply with our culinary heritage. It’s a testament to the idea that sometimes, the less you interfere, the more profound the result. This recipe, popularized by Jim Lahey, has become a global phenomenon for a reason: it delivers an incredibly **crusty bread** with an airy, open **crumb** using just four basic ingredients and almost no hands-on time.
I first stumbled upon this **easy bread recipe** when I was looking for a less labor-intensive alternative to a multi-day bread recipe. The promise of “no-knead” immediately caught my attention. As someone who often uses a bread machine or stand mixer for kneading, I was skeptical but intrigued. Could something so simple truly yield such a spectacular loaf? The answer, I discovered, was a resounding yes! The beauty of this **overnight bread** lies in its long, slow fermentation, which develops incredible flavor and texture without any strenuous effort on your part. It’s the perfect recipe for **bread making for beginners** and seasoned bakers alike, proving that delicious, **homemade bread** is within everyone’s reach.
Why No-Knead Bread is a Home Baker’s Dream (and a Japanese Kitchen Staple)
The Magic of Minimal Effort, Maximum Flavor
The concept of **no-knead bread** is revolutionary. Instead of developing gluten through physical manipulation (kneading), this method relies on time and hydration. A very wet dough, combined with a long, slow **fermentation** period, allows the gluten strands to naturally align and strengthen. This “passive time” is where the magic happens, transforming simple **flour**, **water**, **yeast**, and **salt** into a complex, flavorful dough. The result is an **artisan bread** with a wonderfully chewy interior and a shatteringly crisp crust, reminiscent of loaves from the finest bakeries.
A Nod to Simplicity: The Japanese Approach to Baking
In Japanese cuisine, there’s a profound respect for ingredients and a philosophy of minimal intervention to let their natural flavors shine. This aligns perfectly with the **no-knead bread** method. It embodies the spirit of *wabi-sabi* in cooking—finding beauty in imperfection and appreciating the natural processes. Just as a master sushi chef carefully selects the freshest fish and rice, understanding that their inherent quality is paramount, this bread recipe emphasizes the quality of its few ingredients and the patience to let nature take its course. It’s about creating something extraordinary from the ordinary, a principle deeply ingrained in **Japanese home baking**.
The Essential Ingredients: Quality Matters
With so few ingredients, the quality of each component truly makes a difference in your **no-knead bread**. Think of it like a perfectly crafted bowl of dashi – simple, yet profound due to the excellence of its parts.
Flour Power: Choosing the Right All-Purpose Flour (or Bread Flour)
- All-Purpose Flour: For most home bakers, a good quality **all-purpose flour** works wonderfully. It has enough protein to develop a strong gluten structure during the long fermentation.
- Bread Flour: If you want an even chewier texture and more robust gluten development, **bread flour** is an excellent choice. It has a higher protein content than all-purpose flour. In Japan, specific flours are often chosen for different types of bread; while specialized Japanese bread flour might be hard to find outside of Japan, understanding its purpose helps appreciate the role of protein in your loaf.
- Whole Wheat Flour: For a heartier loaf, you can substitute up to 1 cup of **all-purpose flour** with **whole wheat flour**. Be aware that whole wheat absorbs more water, so you might need to add an extra tablespoon or two of water to maintain the dough’s hydration.
The Role of Yeast: Active Dry vs. Instant
- Active Dry Yeast: This recipe typically calls for a tiny amount of **active dry yeast**. It needs to be “activated” or proofed in warm water before mixing, though in a long-fermentation recipe like this, it often gets mixed directly with dry ingredients.
- Instant Yeast: You can use **instant yeast** interchangeably with active dry yeast in this recipe. Instant yeast has finer granules and doesn’t require proofing, making it even more convenient. The small amount used ensures a slow, steady rise, contributing to the complex flavor.
Salt: More Than Just Flavor
**Salt** is crucial for flavor, but it also plays a vital role in controlling yeast activity and strengthening the gluten structure. Use a good quality **kosher salt** or fine sea salt. Avoid iodized table salt, which can impart an off-flavor and inhibit yeast. The right amount of salt balances the sweetness of the fermented flour and enhances the overall taste, much like how a pinch of salt can bring out the umami in a dish.
Water: Temperature is Key
The temperature of your **water** can influence the dough’s initial activity. For this **overnight bread**, room temperature or slightly cool water is generally preferred, as it encourages a slower, longer fermentation, which is key to flavor development. Avoid hot water, which can kill the yeast. The purity of water is highly valued in Japanese cuisine, influencing everything from
Step-by-Step: Crafting Your Perfect Loaf
While the recipe card provides the precise instructions, here are some expert tips to ensure your **no-knead bread** turns out perfectly every time.
Mixing the Dough: The Easiest Part
The initial mix is truly as simple as combining the ingredients in a large bowl until no dry spots remain. The dough will be very shaggy and sticky – this is exactly what you want! Resist the urge to add more flour. The high hydration is what allows the gluten to develop on its own during the long rest.
The Long Fermentation: Overnight Rise for Flavor Development
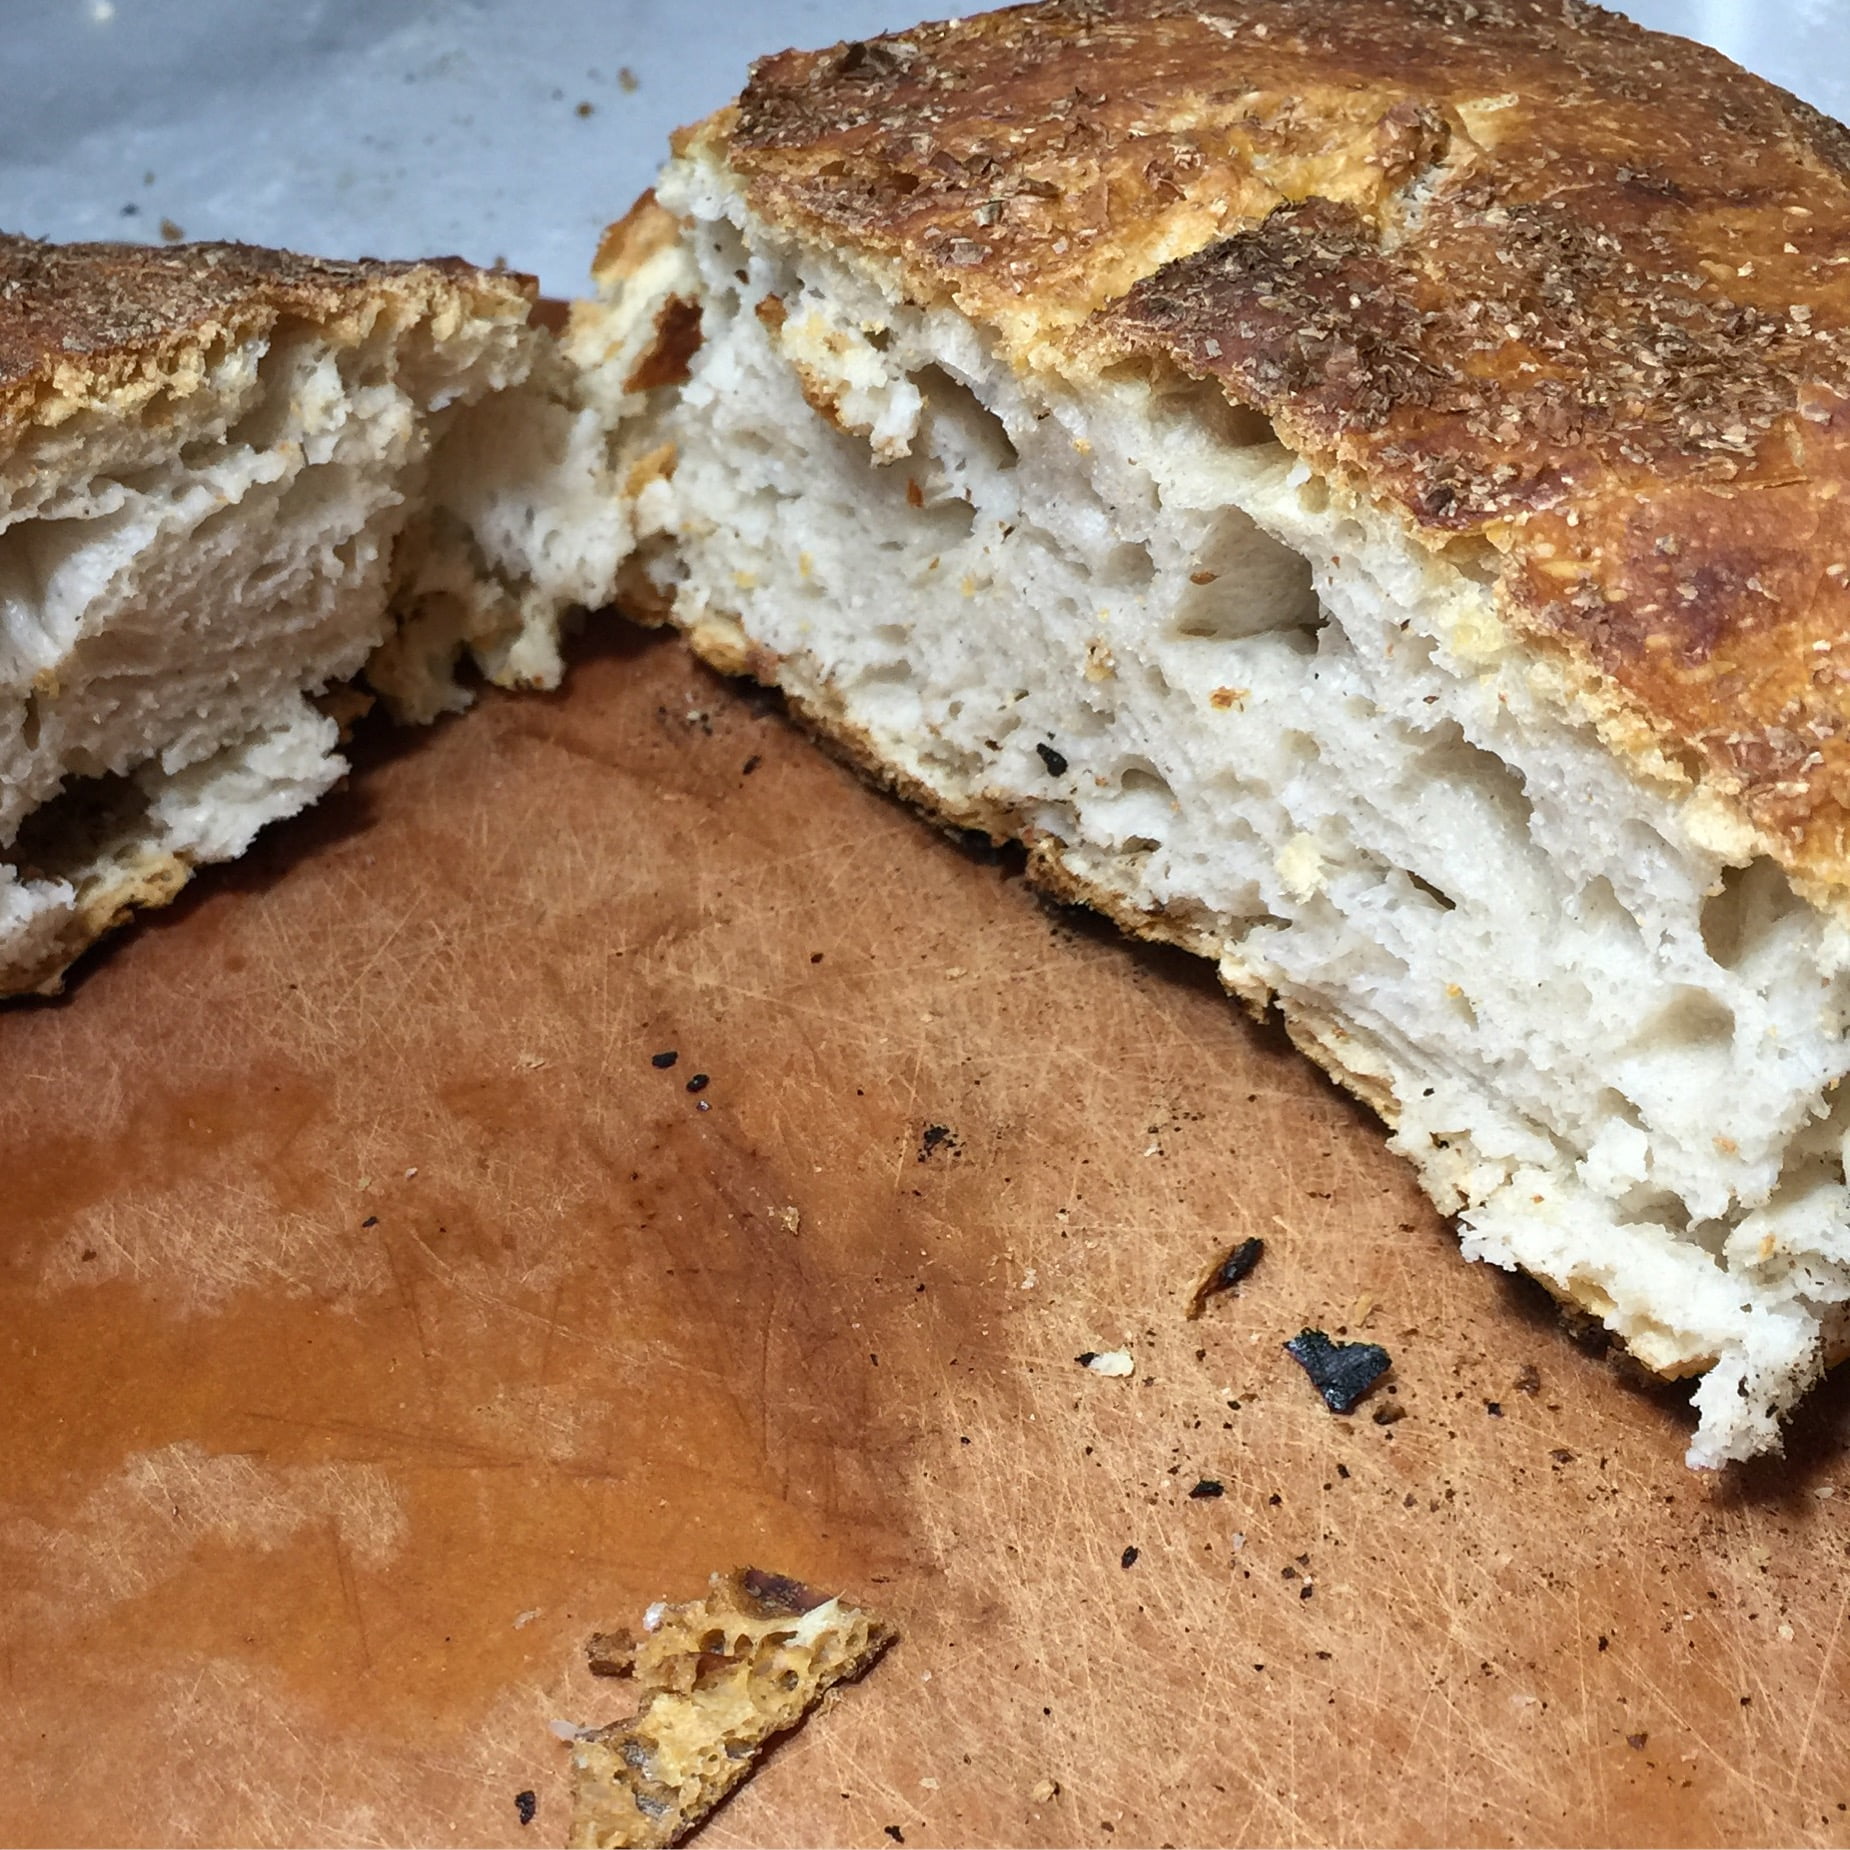
This is the heart of the **no-knead bread** method. Allowing the dough to rest for 12-18 hours (or even up to 24 hours) at room temperature is essential. During this time, the yeast slowly works its magic, producing alcohol and organic acids that contribute to the bread’s complex flavor profile and its signature airy, open **crumb**. Look for bubbles on the surface and a slight yeasty aroma – these are signs of a healthy, active **fermentation**.
Shaping the Dough: A Gentle Touch
After the long rise, your dough will be bubbly and sticky. Lightly flour your work surface, then gently scrape the dough out. Instead of traditional kneading, you’ll perform a few gentle folds to create tension on the surface, forming a loose ball. The goal is to create a taut “skin” on the outside, which will help the bread hold its shape and rise beautifully in the oven. Don’t overwork it; a gentle touch is key.
The Dutch Oven Advantage: Achieving that Golden Crust
The **Dutch oven** is your secret weapon for achieving that coveted crispy, golden-brown crust. When preheated, it mimics a professional steam oven. The trapped steam in the initial baking phase keeps the crust soft, allowing the bread to expand fully (oven spring). Once the lid is removed, the dry heat finishes the crust, making it wonderfully crisp. A **cast iron Dutch oven** or a heavy ceramic pot works best.
Baking to Perfection: Temperature and Time
Preheating your oven and **Dutch oven** to a high temperature (450°F / 230°C) is crucial. This initial blast of heat helps create a strong crust and ensures good oven spring. Bake with the lid on for about 30 minutes, then remove the lid and continue baking for another 15-20 minutes until the crust is deeply golden brown and sounds hollow when tapped. Always cool your bread on a wire rack to prevent a soggy bottom.
Troubleshooting Common No-Knead Bread Issues
Even with a simple recipe, sometimes things don’t go exactly as planned. Here are solutions to common problems:
Why is My Bread Not Rising?
- Old Yeast: Yeast is a living organism. If it’s old or expired, it won’t be active. Test your yeast by mixing a small amount with warm water and a pinch of sugar; if it doesn’t foam, it’s likely dead.
- Water Temperature: Water that’s too hot can kill the yeast, while water that’s too cold can inhibit its activity. Aim for room temperature or slightly cool water for the long fermentation.
- Too Much Salt: Salt inhibits yeast activity. Ensure you’re using the correct amount.
- Cold Environment: While this dough benefits from a long, slow rise, an extremely cold kitchen can slow it down too much. Find a slightly warmer spot if needed.
My Crust Isn’t Crispy Enough!
- Dutch Oven Not Hot Enough: Ensure your **Dutch oven** is fully preheated in the oven for at least 30 minutes before adding the dough.
- Not Enough Baking Time with Lid Off: The final baking phase with the lid off is crucial for crust development. If it’s not golden brown and crisp, bake for an additional 5-10 minutes.
- Too Much Moisture: Ensure your kitchen isn’t overly humid. Also, make sure to cool the bread completely on a wire rack to prevent steam from softening the crust.
The Dough is Too Sticky/Too Dry
- Too Sticky: This dough is meant to be very sticky due to its high hydration. Resist adding too much extra flour during the initial mix. If it’s unmanageably sticky during shaping, lightly flour your hands and work surface.
- Too Dry: Your flour might be absorbing more water than usual, or your measurements might be slightly off. If the dough feels very stiff and not shaggy after mixing, add a tablespoon or two of water until it reaches the desired consistency.
Dealing with a Dense Crumb
- Insufficient Fermentation: The dough needs enough time to develop gases. Ensure it has risen sufficiently and is bubbly.
- Over-handling: Too much manipulation during shaping can deflate the air bubbles, leading to a dense crumb. Be gentle!
- Not Hot Enough Oven: A hot oven provides the initial “oven spring” that helps the bread expand.
Elevate Your Loaf: Japanese-Inspired Variations & Serving Suggestions
While the classic **no-knead bread** is delicious on its own, its versatility allows for exciting variations. Here are some ways to infuse your loaf with unique Japanese flavors, transforming it into a truly special creation.
Matcha Swirl No-Knead Bread
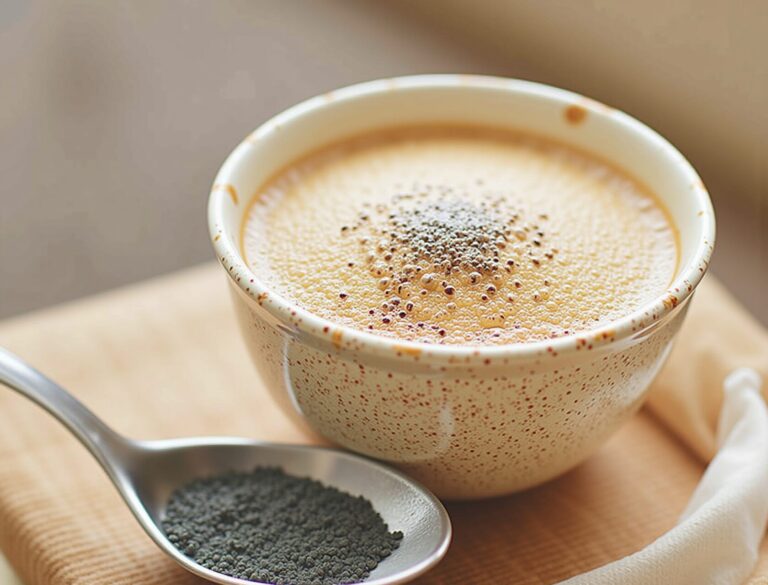
For a subtle earthy flavor and a beautiful green swirl, incorporate **matcha powder**.
How to: During the initial mixing, reserve about 1/4 of the dough. Mix 1-2 teaspoons of ceremonial grade **matcha powder** with a tablespoon of water to form a paste, then gently fold it into the reserved dough until evenly colored. After the first rise, gently flatten the plain dough, spread the matcha dough over it, and then roll or fold it to create a swirl effect before the second rise. The slightly bitter notes of matcha beautifully complement the bread’s natural sweetness.
Sesame Seed & Shichimi Togarashi Crusted Bread
Add a savory, aromatic, and slightly spicy kick with this unique crust.
How to: Just before the second rise, lightly brush the shaped dough with water. Sprinkle generously with a mix of **black sesame seeds**, **white sesame seeds**, and **shichimi togarashi**. **Shichimi Togarashi** is a traditional Japanese seven-spice blend, typically containing chili pepper, orange peel, sesame seeds, seaweed, and more. It adds a wonderful depth of flavor and a beautiful visual appeal to the crust.
Pairing with Japanese Soups and Stews
This crusty bread is perfect for soaking up rich broths.
- Miso Soup: Dip slices of warm bread into a hearty bowl of **miso soup**. The savory, umami-rich broth is a delightful contrast to the bread’s texture.
- Tonjiru: This rustic Japanese pork and vegetable miso soup is incredibly comforting. The bread acts as a perfect vehicle to enjoy every last drop of its flavorful broth.
- Japanese Curry: A thick, rich Japanese curry is another excellent pairing. The bread can be used to scoop up the delicious sauce.
Enjoying with Japanese Breakfast
Integrate your homemade bread into a traditional Japanese breakfast for a delightful fusion experience.
- Serve alongside fluffy **tamagoyaki** (rolled omelet) or even with a side of savory grilled fish.
- For the adventurous, a slice of this bread can be a surprising accompaniment to **natto** (fermented soybeans), offering a textural contrast to the sticky beans.
Simple Spreads: Anko or Yuzu Marmalade
For a sweet treat, pair your bread with these classic Japanese spreads.
- Anko (Red Bean Paste): A sweet, earthy paste made from adzuki beans, **anko** is a staple in Japanese desserts. Spread it generously on a warm slice of bread for a comforting snack.
- Yuzu Marmalade: The bright, citrusy notes of **yuzu marmalade** offer a refreshing counterpoint to the bread’s richness. It’s a delightful way to enjoy the unique flavor of yuzu.
Equipment Essentials for No-Knead Bread
One of the beauties of this recipe is its minimal equipment requirements. However, a few key items will ensure your success.
The Indispensable Dutch Oven (Cast Iron vs. Ceramic)
A **Dutch oven** is truly the star of this recipe. Its ability to retain and distribute heat evenly, and to trap steam, is what gives the bread its signature crust and rise.
- Cast Iron Dutch Oven: These are excellent for heat retention and durability. They can be quite heavy, but they deliver consistent results.
- Ceramic Dutch Oven: Lighter than cast iron, ceramic options also work well, provided they are oven-safe to high temperatures (at least 450°F / 230°C).
- Size: A 5 to 6-quart **Dutch oven** is ideal for a standard loaf. If yours is larger, you might consider doubling the recipe to get a taller loaf, as I learned from experience!
Mixing Bowls and Spatulas
- Large Mixing Bowl: You’ll need a bowl large enough to comfortably mix the dough and allow for its significant rise.
- Rubber Spatula or Danish Dough Whisk: These are perfect for mixing the sticky dough without overworking it.
Other Helpful Tools
- Parchment Paper: This makes transferring the sticky dough into the hot **Dutch oven** much easier and prevents sticking.
- Bench Scraper: A **bench scraper** is incredibly useful for gently handling and shaping the sticky dough on your floured surface.
- Kitchen Scale: For precise measurements, especially of flour and water, a kitchen scale is invaluable. Baking by weight is more accurate than by volume.
- Cotton Towel: For the second rise, a generously floured cotton towel (not terry cloth, which can stick) helps hold the dough’s shape.
Storing Your Homemade No-Knead Bread
Once you’ve baked your perfect loaf, you’ll want to keep it fresh for as long as possible.
Keeping it Fresh: Room Temperature, Fridge, or Freezer
- Room Temperature (1-2 days): For immediate enjoyment, store the bread at room temperature. A bread box or a paper bag will help keep the crust crisp. Avoid airtight plastic bags, which can make the crust soggy.
- Room Temperature (3-4 days): For slightly longer storage, wrap the cooled bread tightly in plastic wrap or foil. The crust will soften, but the interior will remain moist.
- Freezer (up to 3 months): For longer storage, slice the cooled bread and freeze the slices in an airtight freezer bag. You can also freeze a whole loaf, wrapped tightly in plastic wrap and then foil. Thaw slices as needed or reheat a whole loaf in a low oven.
Reviving Stale Bread
Don’t throw away stale bread!
- Crisp it Up: Lightly mist the bread with water and reheat it in a 350°F (175°C) oven for 5-10 minutes. This will revive the crust and warm the interior.
- Croutons or Breadcrumbs: Stale bread is perfect for making homemade croutons or breadcrumbs.
- French Toast or Panzanella: Transform stale bread into delicious dishes like French toast or a bread salad (panzanella).
Frequently Asked Questions (FAQs)
Can I use whole wheat flour?
Yes, you can! For a heartier loaf, substitute up to 1 cup of the **all-purpose flour** with **whole wheat flour**. You might need to add an extra tablespoon or two of water to maintain the dough’s hydration, as whole wheat flour absorbs more liquid.
How long does the dough need to rise?
The first rise (bulk **fermentation**) typically takes 12-18 hours at room temperature, but can go up to 24 hours for deeper flavor. The second rise, after shaping, is usually about 2 hours. Look for visual cues like bubbles and increased volume rather than strict adherence to time, as ambient temperature can affect rising speed.
What if I don’t have a Dutch oven?
While a **Dutch oven** is highly recommended for its ability to create a steamy environment, you can improvise. You’ll need an oven-safe pot with a lid that can withstand high temperatures. Alternatively, you can place a pan of hot water on the bottom rack of your oven to create steam, and bake the bread on a baking stone or heavy baking sheet.
Can I add other ingredients to the dough?
Absolutely! This **no-knead dough** is very versatile. You can add herbs like rosemary or thyme, cheese, olives, dried fruits, nuts, or even seeds like sunflower or pumpkin seeds. For savory additions, incorporate them during the initial mixing. For delicate additions like cheese, fold them in gently after the first rise.